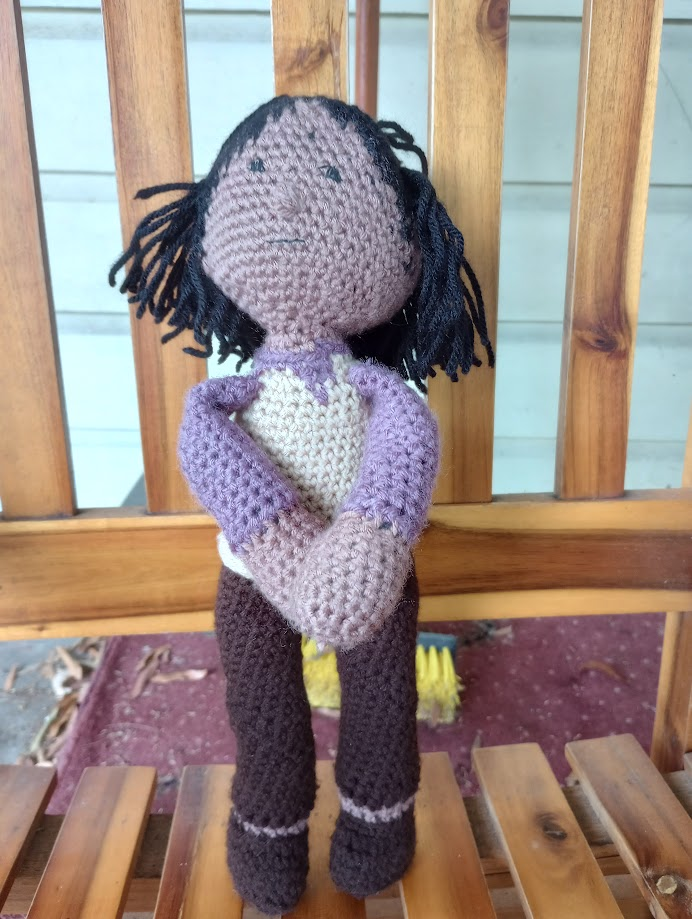
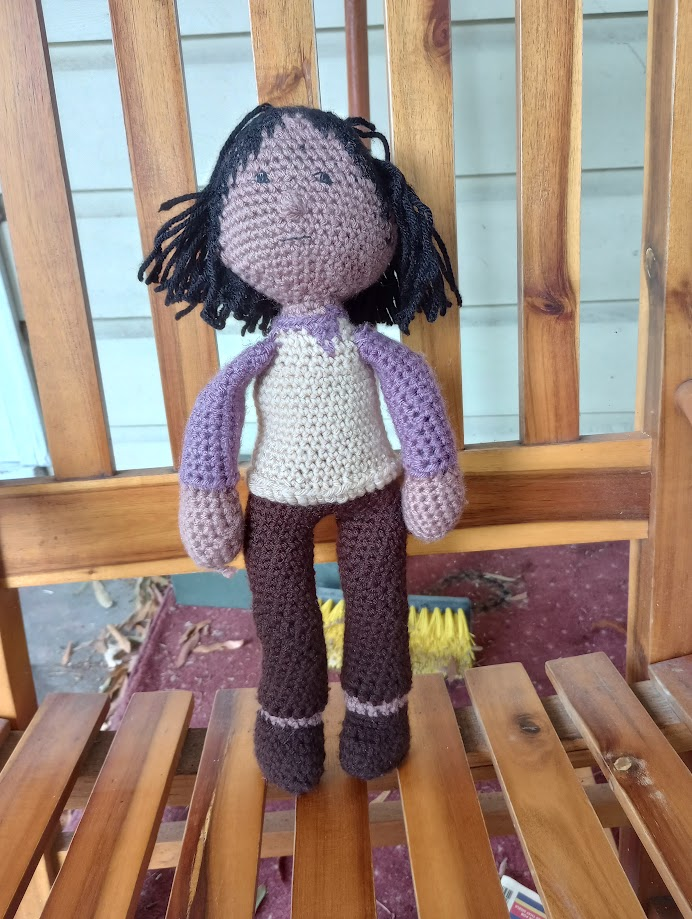
One thing in particular that I did with Huxley, mostly because I found out it was an option, is that he’s stuffed with black polyfill rather than the traditional white stuff. They had it at Michael’s and I decided it would work better for him. I also realized I pulled my stitches tighter with him than I did with Joseph, so even though I used the same yarn and same size hook, he’s still just slightly smaller than Joseph. Somehow, though, it feels fitting. Other ways Huxley deviates from the standard pattern are as follows:
Shoes: Like with Mini, I didn’t change colors for his soles, so his shoes are a solid dark brown. Otherwise, they are made exactly the same way as Joseph’s. The official art on the Brainrot Presents Patreon shows that his pants don’t quite go all the way to his shoes, so for R8, I switched to his skin color, ch 1, and sc in the back loop of each st around, then did R9 in the same color before switching to his trousers.
Trousers: I did the trousers the same way I did Joseph’s, just beginning with R10 instead of R8.
Vest and Shirt: I followed the same variant for Huxley’s sweater vest as I did for Joseph’s hoodie up until R51. In R51, when I got to the center front of his body, I switched to the shirt color for 1 stitch, then switched back to the vest color around. For R52, the first sc and first inv dec were done in the shirt color before switching back to the vest color. In R53, the first 3 scs were in the shirt color and the rest done in vest color.
R54: Switch to shirt color. Ch 1, sc in front loop of each st around, sl st in first sc (18 sc).
R55: Switch to skin color. Ch 1, sc in back loop of each st around, sl st in first sc (18 sc).
**NOTE: Because of the extra round for Huxley’s neck, all steps from this point on are one round higher than on the standard pattern.
Hair: I once again probably made this way harder on myself than I needed to, but it’s Huxley, so frustrating is kind of the order of the day. I essentially did the same procedure I did with Mini, with two key exceptions. One is that I did the weave all the way up his scalp - Huxley isn’t really the man-bun type - and the other is that, starting with R64…mostly because that’s when I thought of it…I started pulling from both ends of my skein of black (this is a terrible idea and I don’t recommend it if you have literally any other options) and using black for both the scalp and the hair. It probably made things unnecessarily complicated, but I decided I liked the effect. (After a while, things were getting super tangled, so I cut off a small ball from one end and used that for the hair bit.) I also accidentally did an extra round of straight sc in the middle because I lost track of where I was, so his face is a little longer than normal, but it works.

Arms: I did Huxley’s arms the same way I did Joseph’s (using the shirt color rather than the vest color), except that I didn’t do the row of back loop scs after front loop hdcs, so he doesn’t exactly have cuffs on this shirt. I also put magnets in his hands. To get them to stay in place while I stuffed the hands, I put another magnet on the outside to hold them (and also to tell me which side they were on and which side was up when I went to sew them onto the doll). It worked.
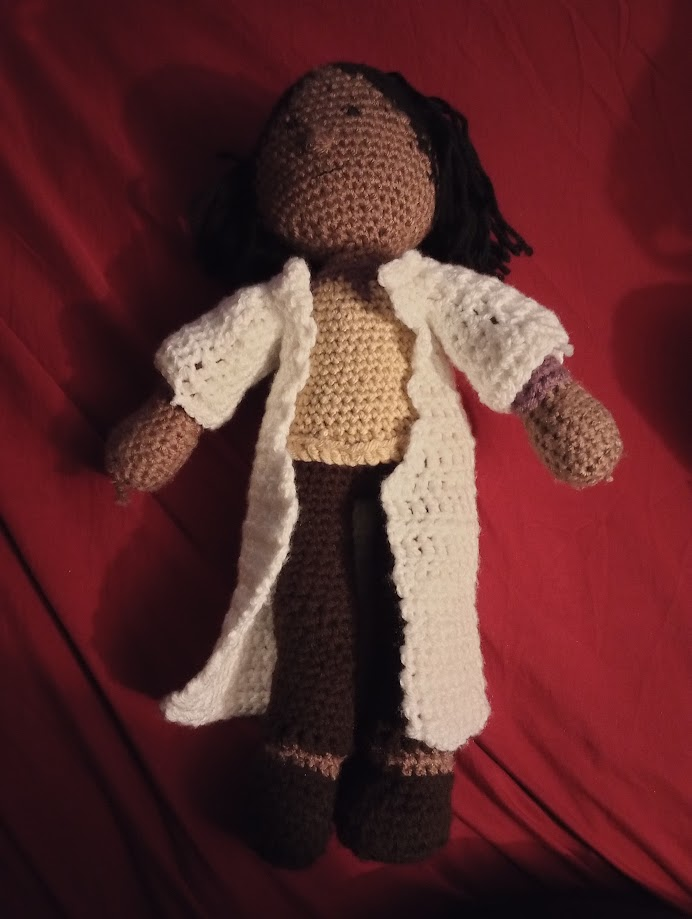
Lab Coat: I improvised this as I went, but it worked out. (I also didn’t write it down as I went because I’m an idiot, and trying to count it I have no idea what I actually did where, so.) Basically, I did a ch38, then did rows of dc back and forth until the rectangle went from Huxley’s ankles to his waist. At that point, I started doing an invisible decrease at more or less the midpoint of his back (or as close to it as I could get) until I got up to where his underarms would be. To make the armholes, I worked up to where I wanted them to be in dc, then did a ch 9 and skipped three stitches, joined with a dc, and kept going in the other direction. The next round I did a sc in each chain stitch but dcs in the dcs. I topped it with a row of sc, then another row of sc in back loops only to make the collar. For the sleeves, I joined the yarn to the outside of the armholes and worked six rounds of dc to make them long enough (six rounds was just about perfect).


