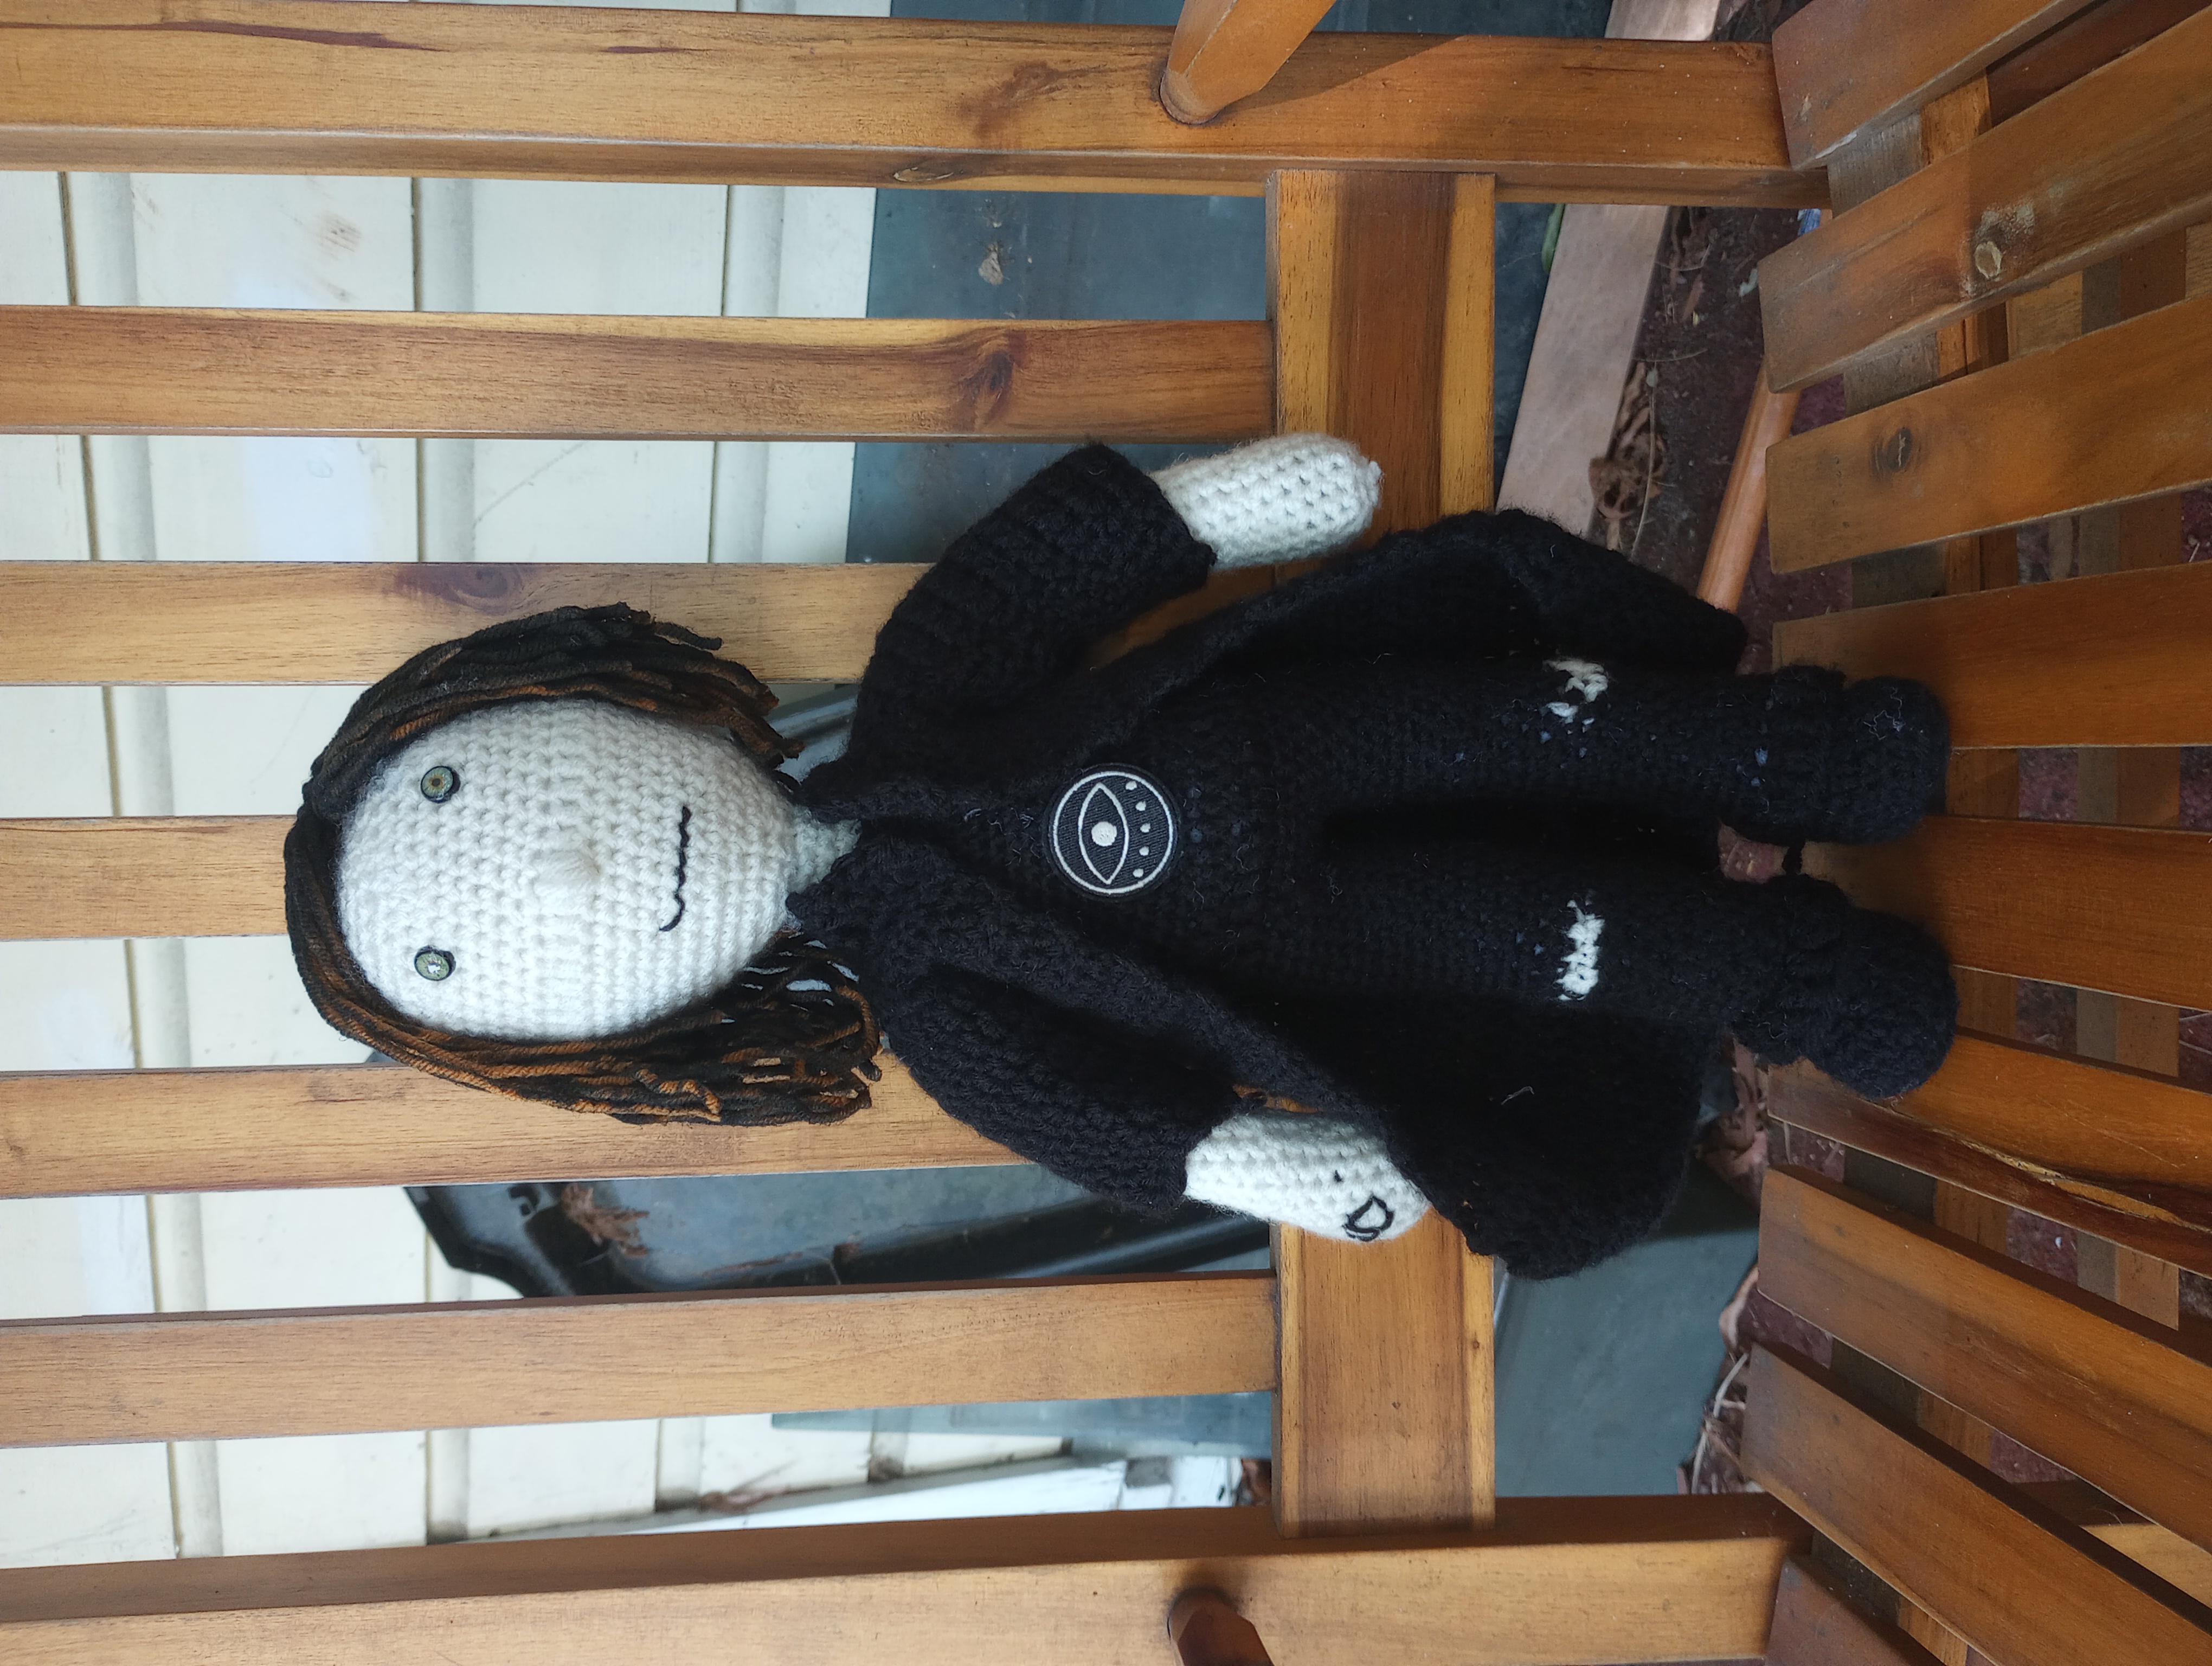
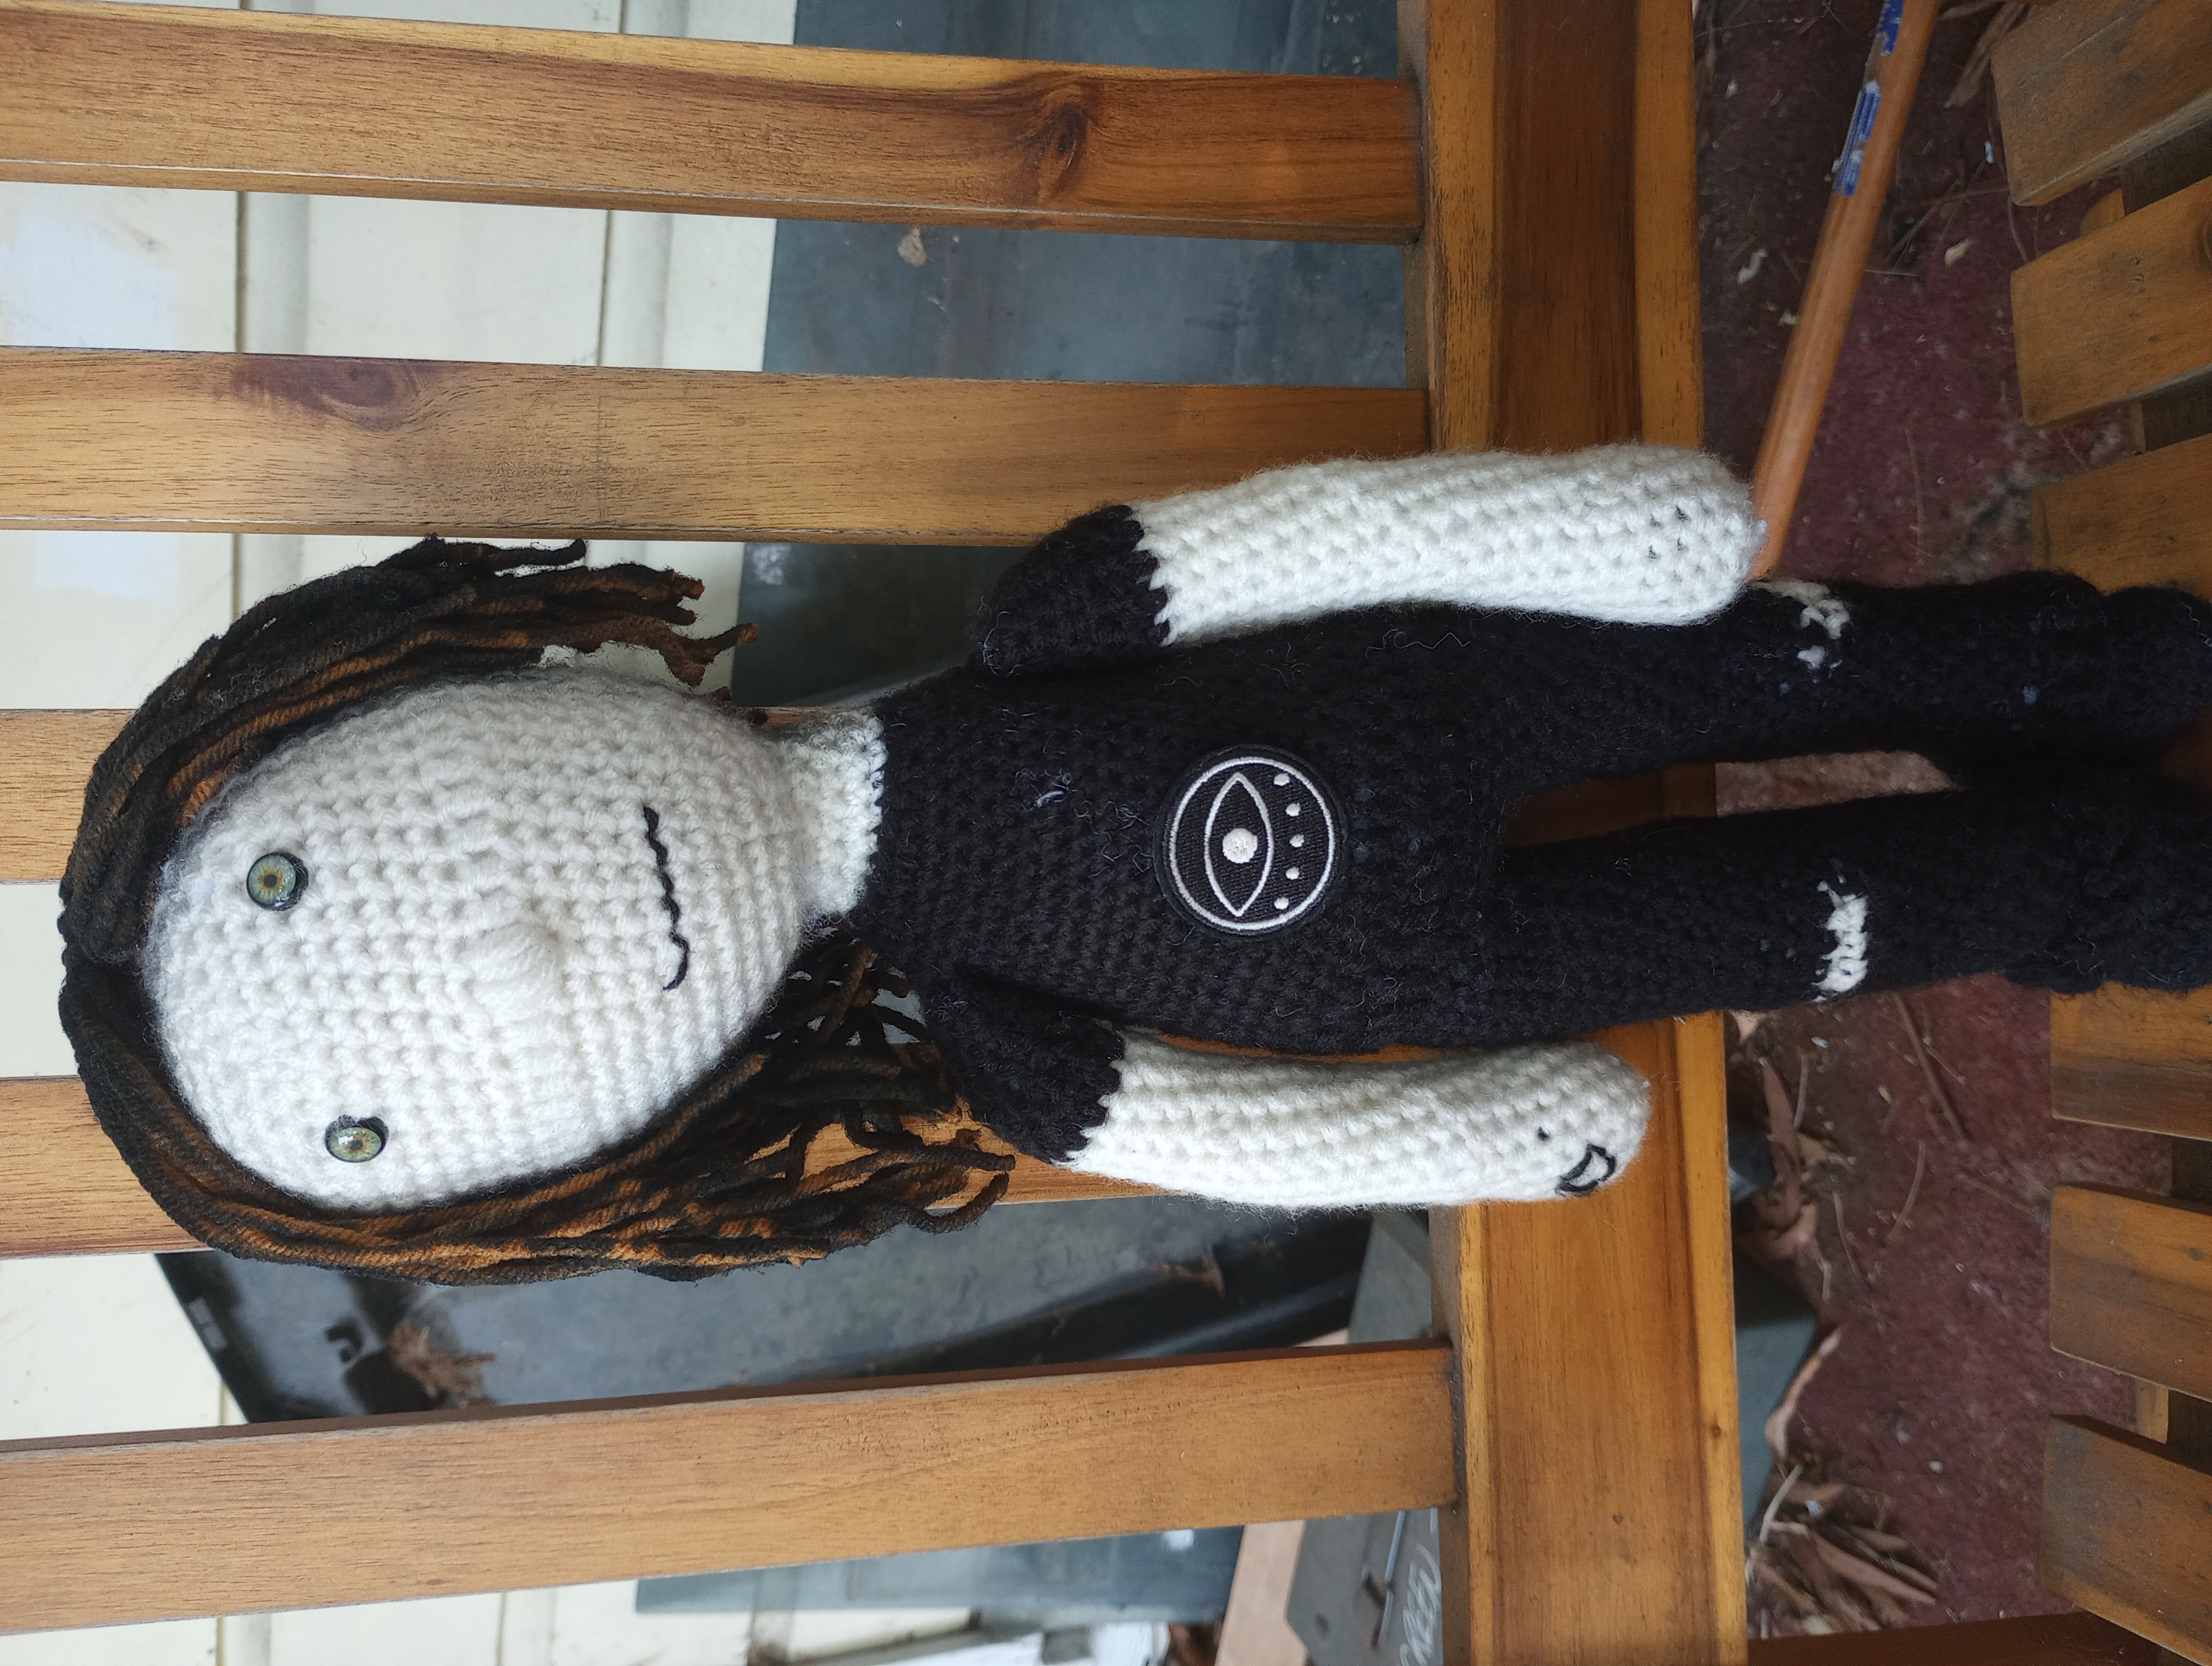
Character Name: Gerard “Gerry” Keay
Fandom: The Magnus Archives
Voiced By: Jon Gracey
Yarn Used:
Skin: CraftSmart Value - Off-White
Shirt/Trousers/Shoes: Red Heart Super Saver - Black; heidi & jo iron-on applique
Hair: CraftSmart Value - Curry; Tulip Colorshot Fabric Spray Paint - Black
Face: Park Lane 10mm plastic eyes - hazel; Red Heart Super Saver - Black
Tattoos: Red Heart Super Saver - Black
Basic pattern here.
Okay, so if I’m being honest here, this particular Gerry is 100% influenced by the version in “Awake and Unafraid” by blasphemous-lies-and-deceit, who is amazing and deserves all the love. (Not that I don’t want to hug canon!Gerry too, but holy hell.) I will also confess that I had to undo him at one point; I’d been working on him steadily for a while, and then set him aside in favor of NaNoWriMo, whereupon he promptly got swallowed up by the hellscape miasma that is my room. I finally unearthed him in a moment that can best be described as “I have discovered every single godsdamned thing I have been looking for in the last six MONTHS and also the Ark of the Covenant and Jimmy Hoffa, and yet I cannot find the one specific thing I am looking for and which I only purchased a week ago” and started working on him again. Unfortunately, I had no idea where I was in the pattern and what variants I had actually done, so I unraveled most of his torso and started over. This is why it has taken me almost a year between Hux and Gerry.
Oh, well. At least I can confidently tell you that I altered the “base” pattern as follows:
Shoes: Black combat boots, baby! Like with Mini and Hux, I kept the color the same, but otherwise the shoes are the same as before.
Trousers: I was trying to give him baggy black jeans, so I wanted them to come down over his shoes. Thus, when I got to the top of the boots, I did a round in the front loop only to give myself a little ridge, then did a round of treble crochet in the front loops of that before going back to sc for the rest of the trousers. (I think. I forgot to write this down as I was doing it and it’s been, as previously mentioned, around six months since then at time of writing.) I also wanted to give him some artistic rips in the knees, so I switched to the white I’m using for his skin and did front-loop in the black around it to give it a bit of texture and make it look like they are, in fact, torn across the knees. Deliberately or not, your call.
Shirt: I wanted Gerry to be wearing a kind of baggy, shapeless shirt, and also to be a bit taller and lankier in the torso, with a slightly longer neck. I also put him in all black because that’s how he’s always described, so I worked him the same way as Joseph (just without changing color) up until R36, and then:
R37: Ch 2, hdc in each fpdc around, sl st in first hdc (38 hdc).
R38-48: Ch 1, sc in each st around, sl st in first sc (38 sc).
R49: Ch 1, [sc in next 17 st, inv dec over next 2 st] twice, sl st in first sc (36 sc).
R50: Ch 1, sc in each st around, sl st in first sc (36 sc).
R51: Ch 1, [sc in first 2 st, inv dec] 9 times around, sl st in first sc (27 sc).
R52-53: Ch 1, sc around, sl st in first sc (27 sc).
R54: Ch 1, [sc in first st, inv dec] 9 times around, sl st in first sc (18 sc).
R55: Ch 1, sc in each st around, sl st in first sc (18 sc).
R56: Switch to skin color. Ch 1, sc in back loop of each st around, sl st in first sc (18 sc).
R58-59: Ch 1, sc in each st around, sl st in first sc (18sc).
I also added an iron-on patch to give him a design on his shirt. (Fun fact, I bought three different patches and kept losing them before I could find my iron, which I had stupidly put away where it belonged.)
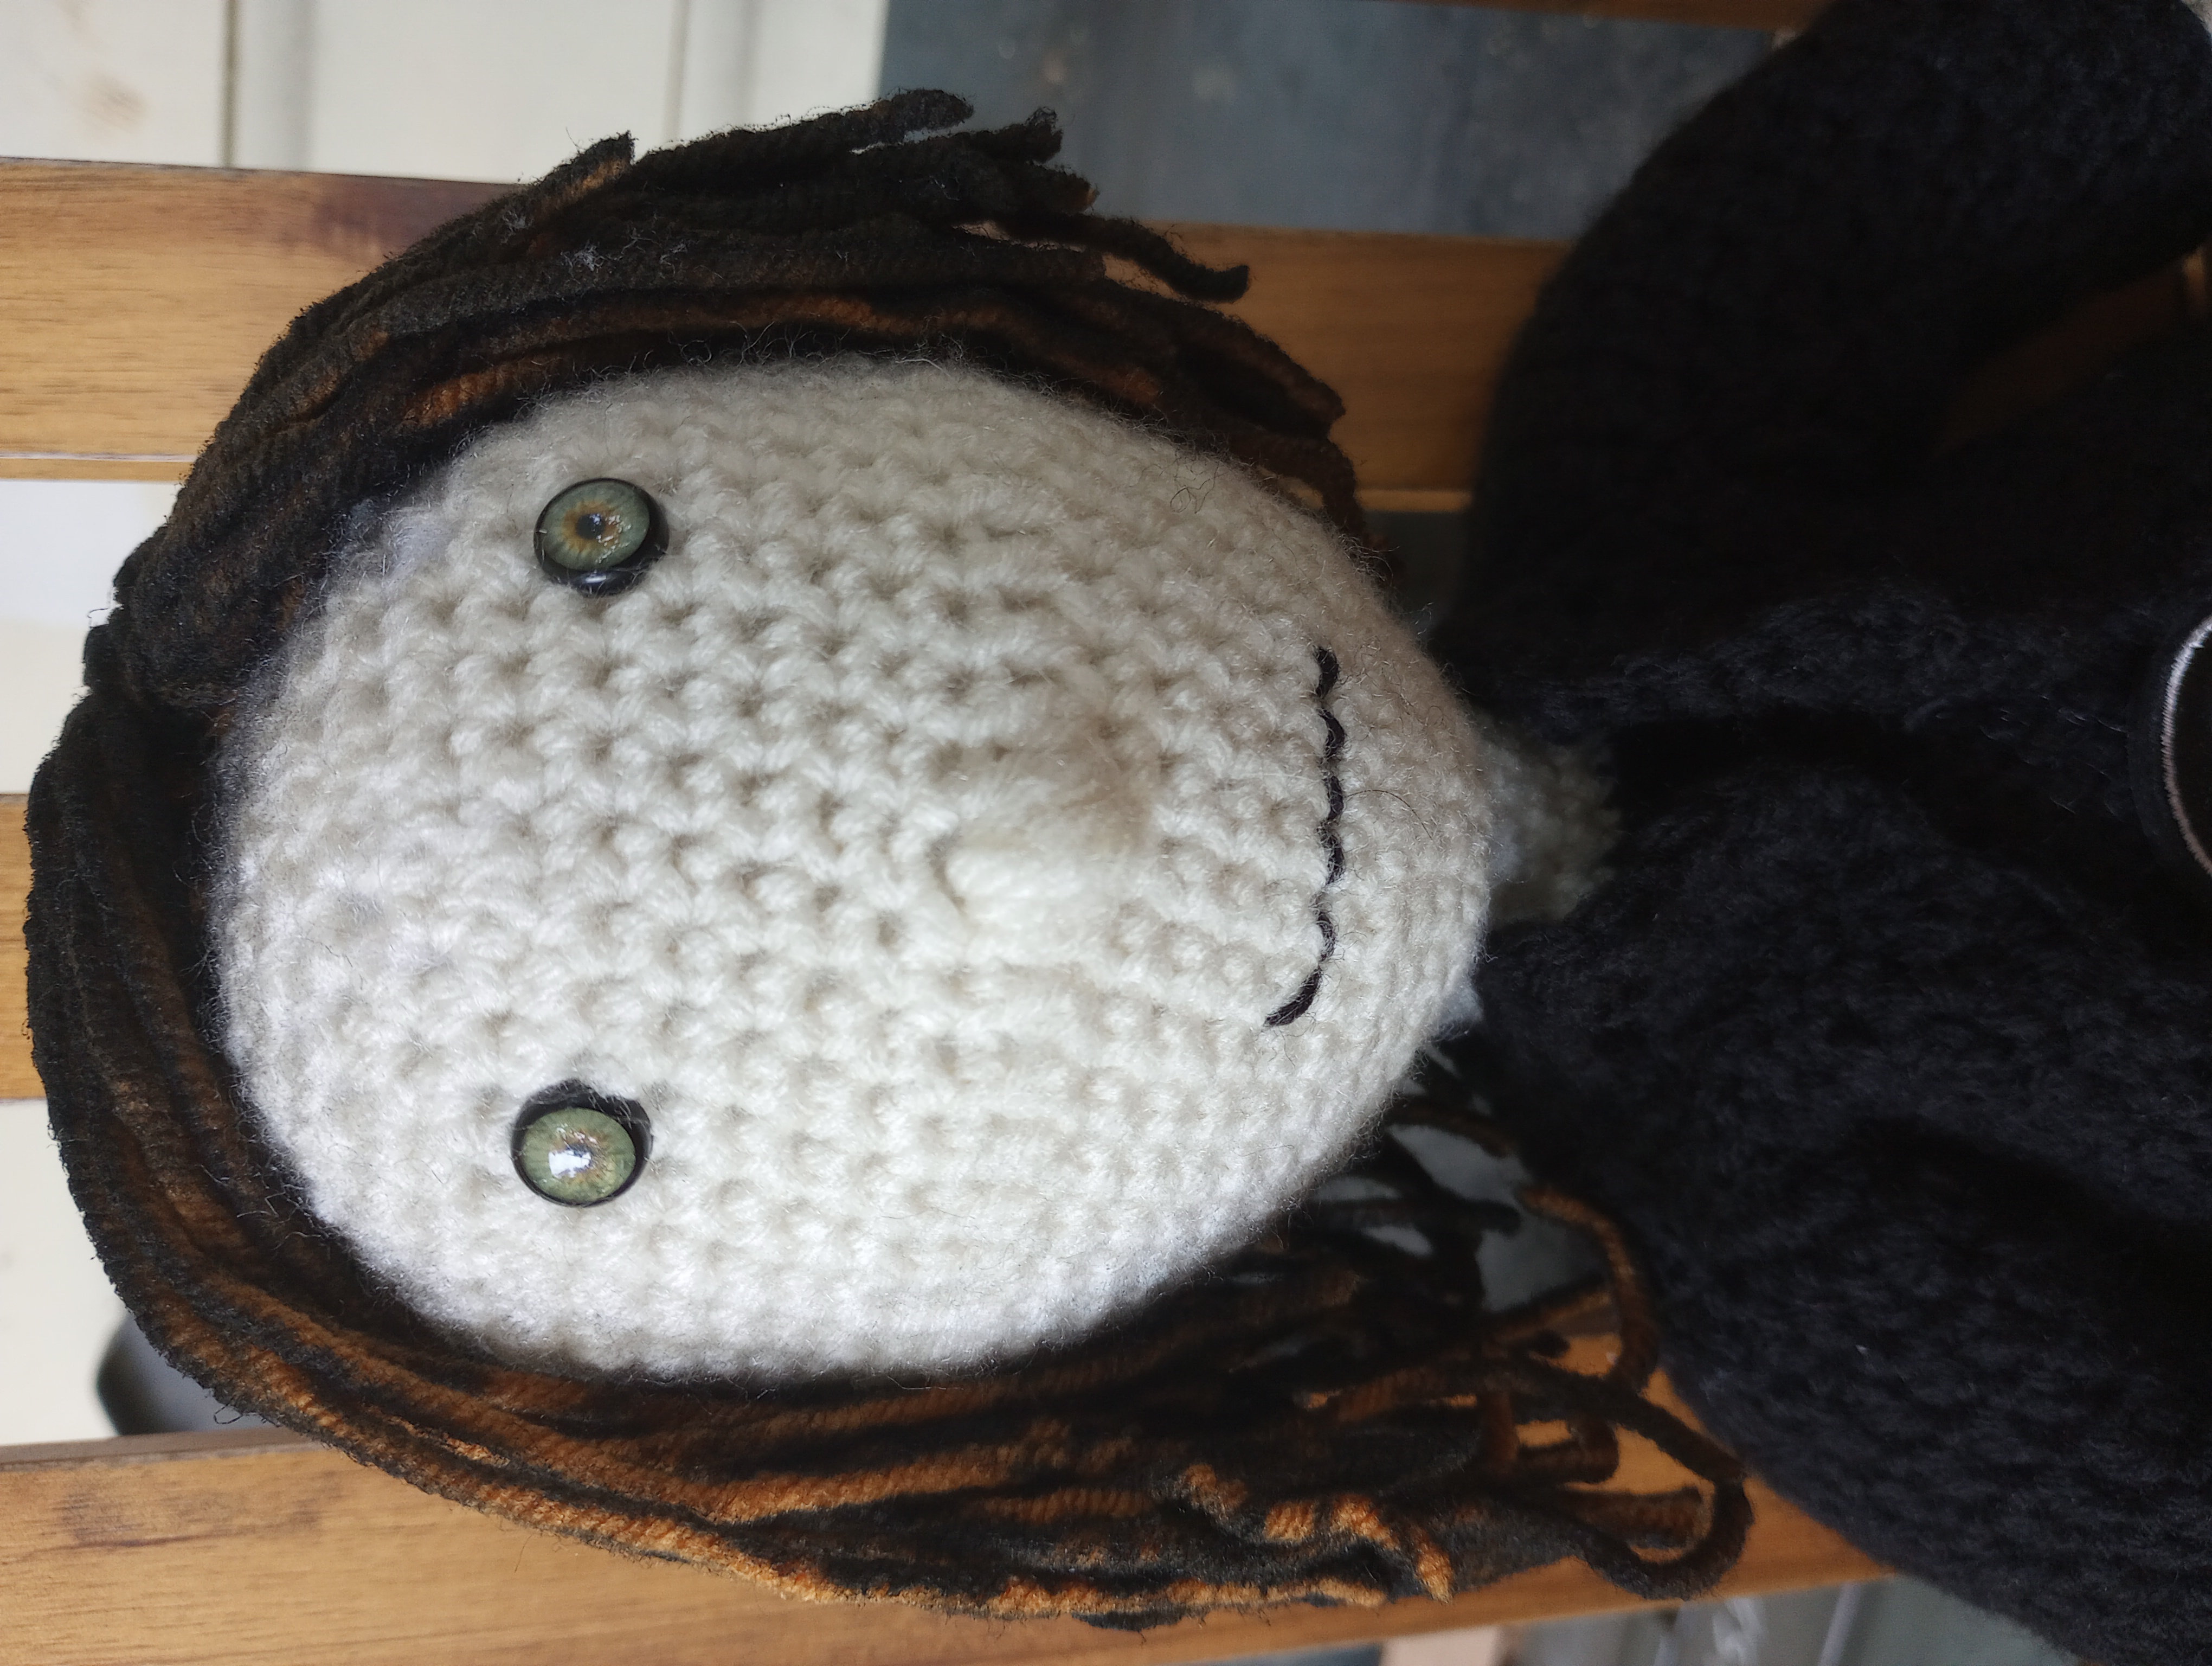
Head: I always picture Gerry as having a long, thin face and a slightly larger nose, so I followed the base pattern for his head up to what is R60 on the original pattern (but is R64 on this pattern due to previously-made changes), and then:
R65-70: Ch 1, sc in each st around, sl st in first sc (42 sc).
R71: Ch 3, dc in next 26 st, puff st in next st, dc in next 15 st, sl st in first dc (41dc, 1 puff stitch).
R72-77: Ch 1, sc in each st around, sl st in first sc (42 sc).
Continue from R72 on original pattern.
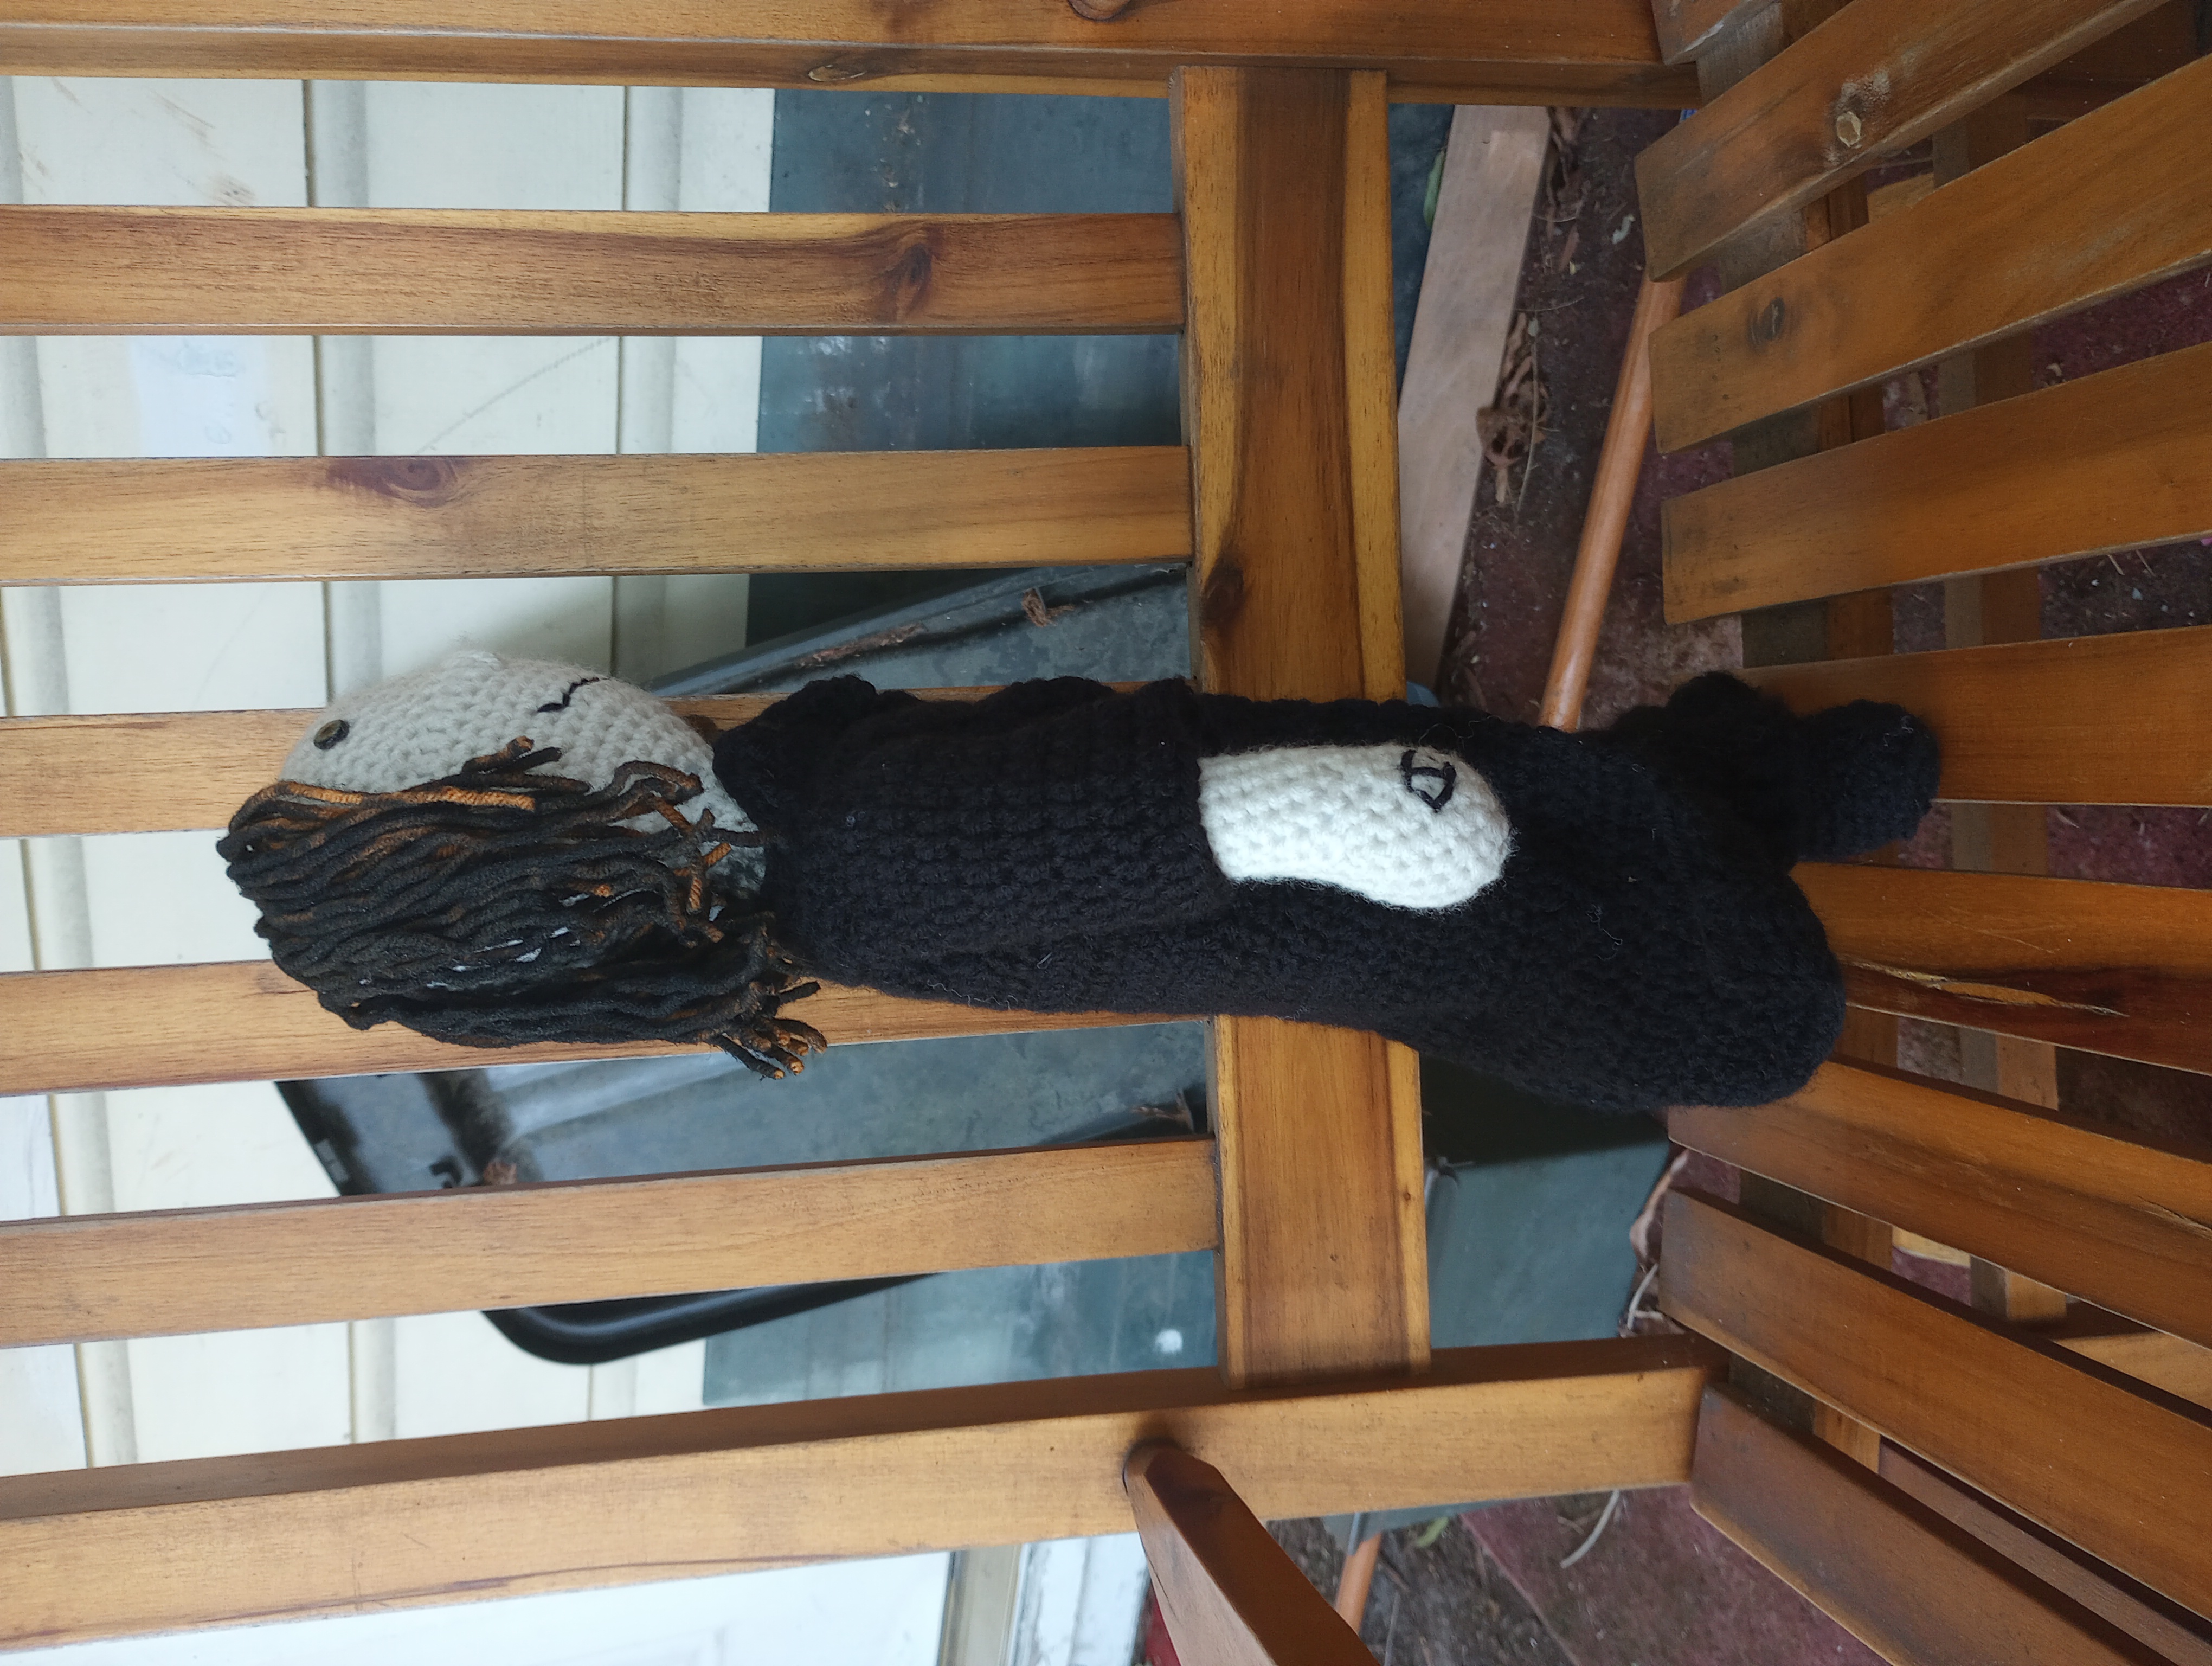
Unfortunately, I didn’t stuff him as much as I should have, so his neck is kinda floppy. I’m working on a solution to that.
I also used safety eyes for the first time here! And oh my God they saved so much time. I wasn’t sure they were going to work in the package, but once I got them in his face, I liked them a lot! I embroidered a little smirk for his mouth. Used yarn this time because I finally had a yarn needle to do it with and didn’t feel like digging for my embroidery floss by the time I got to his mouth, and I like it.
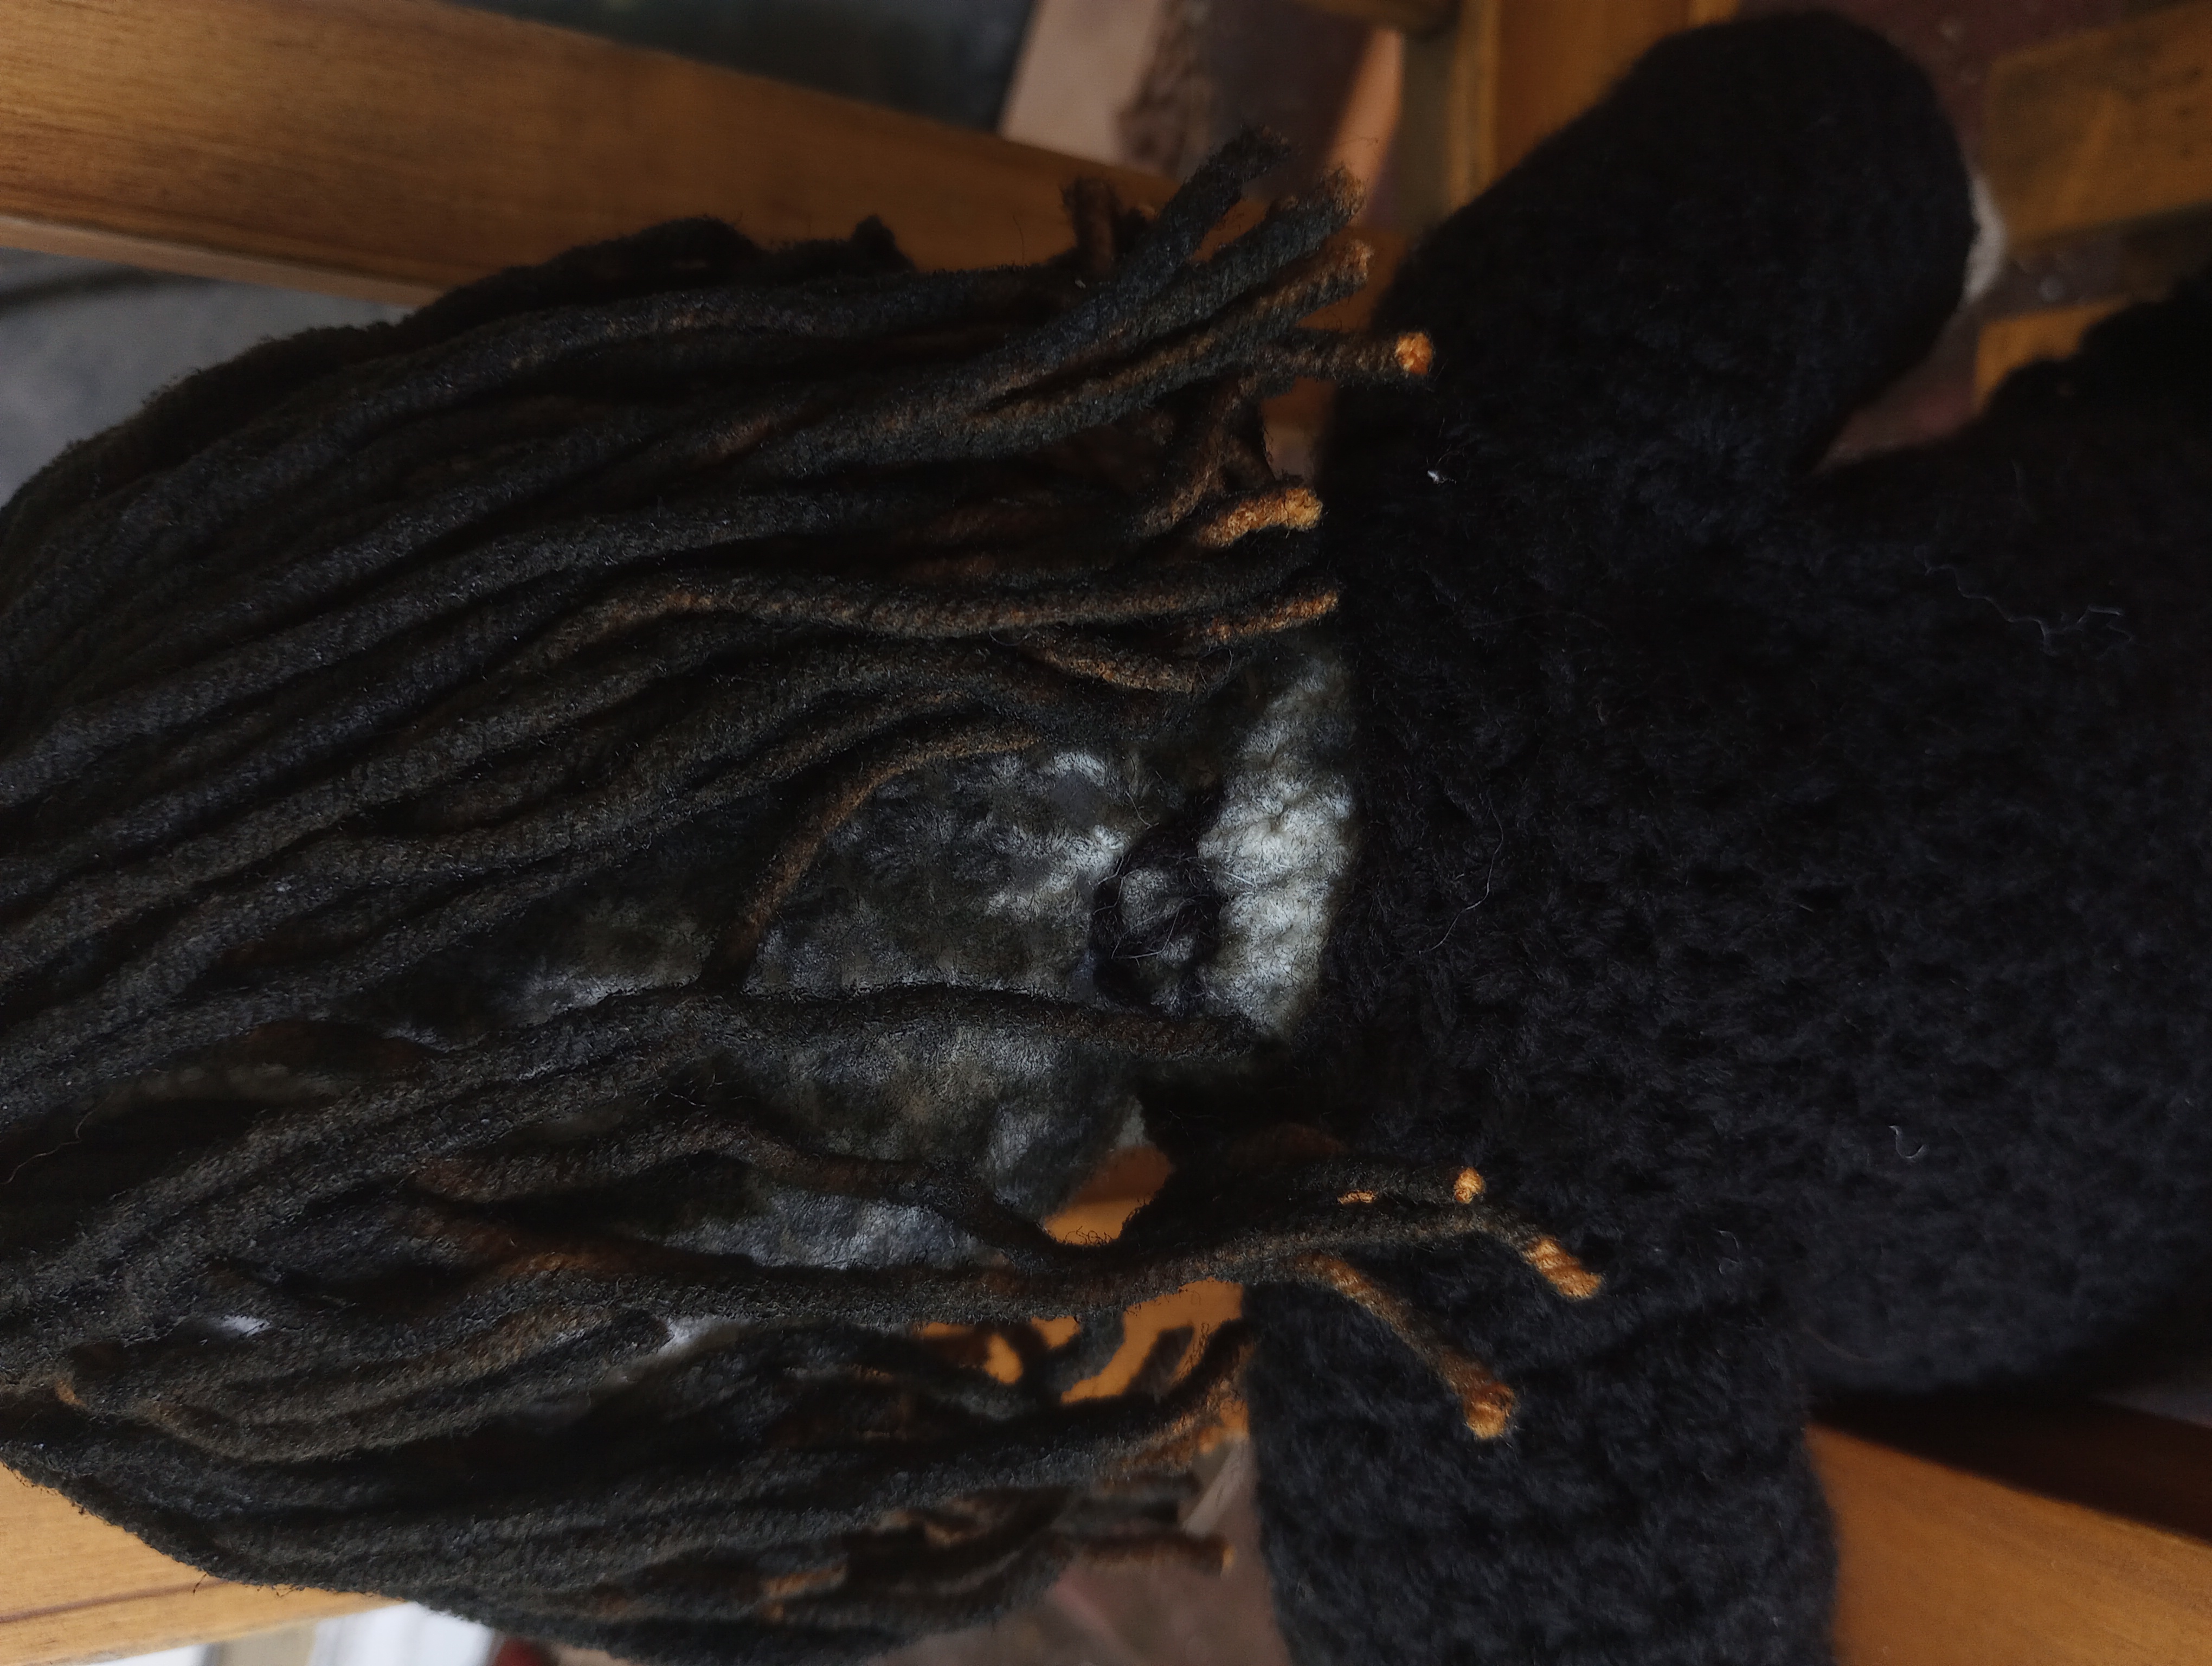
Hair: Yeah, I’m a ginger!Gerry convert, what of it. Anyway, because his hair is always described as “badly dyed”, I initially considered using a variegated yarn, but couldn’t find one that would do what I wanted it to do, I decided to badly dye it myself. I wrapped a hank of yarn around a piece of cardboard, tied it off, and cut it, then spread it out on said cardboard and sprayed it with black fabric spray paint I found in the clearance aisle at Joann Fabric. And, as if it knew why I was doing it, it just…wouldn’t…take. I must’ve sprayed, rearranged, sprayed again, let dry, untangled, discovered that I’d just done the surface, resprayed, moved, and sprayed again about twelve times before I thought I’d got it. I hadn’t. Finally, I gave up and sewed the mottled orange-and-black mess onto his head (which was a headache and a half, especially since I wanted him to have a side part), discovered that it was neither as long nor as thick as it had looked before I put it on his head, debated starting over, decided not to, took him back outside, and covered his face with a paper towel, then sprayed the hair again, this time while it was already on his head. That way a) it dyed the scalp as well, and b) I could hope it stuck. (It also occurred to me that I was doing this on the front porch, right on the EDGE of the porch, and that it was, if not raining, at least very humid, and I wondered if that was affecting it, so once I’d sprayed his head down, I brought him inside and let him cure that way.) The yarn still soaked up a lot of the dye, but at least it’s more or less evenly covered…and it does, in fact, give the effect of a bad dye job, so…success?
Arms: I did Gerry’s arms the same way I did Hux’s, except that I gave him short sleeves rather than long ones. I also made them a little bit longer than normal, partly because Gerry is a little bit taller and partly because I was an idiot and wasn’t counting properly.
Trenchcoat: I may have made this slightly more complicated than necessary, but I like how it came out, so:
Ch 48.
R1: Dc in third ch from hook, dc in each ch across, turn (46dc).
R2-5: Ch 3, dc in each st across, turn (46dc).
R6: Ch 3, dc in first 17 st, fpdc around next st, skip next st, inv dec, dc in next 4 st, inv dec. Skip next st, fpdc around next st, dc in same st, dc in next 17 st, turn (43dc, 2 fpdc).
R7: Ch 3, dc in first 18 st, bpdc around fpdc from prev row, skip next st, inv dec in back loops, dc in next 2 st, inv dec in back loops. Skip next st, bpdc around fpdc, dc in st behind, dc in next 18 st, turn (41dc, 2bpdc).
R8: Ch 3, dc in first 19 st, fpdc around bpdc from prev row, skip next st, inv dec twice. Skip next st, fpdc around fpdc from prev row, dc in same st, dc in next 19 st, turn (39dc, 2fpdc).
R9: Ch 3, dc in first 19 st, bpdc around next 2 fpdc, dc in next 19 st, turn (38dc, 2fpdc).
R10: Ch 3, dc in each st across, turn (40dc).
R11: Ch 1, sc in eacn st across, turn (40sc).
R12: Ch 1, sc in first st, ch 1, skip next st, sc in each st across, turn (39sc, 1ch).
R13: Ch 3, dc in first 38 st, dc in ch sp, dc in next st, turn (40dc).
R14: Ch 3, dc in each st across, turn (40dc).
R15: Ch 1, sc in first 38 st, ch 1, skip next st, sc in next st, turn (39sc, 1ch).
R16: Ch 3, dc in first st, dc in ch sp, dc in next 38 st, turn (40dc).
R17: Ch 3, dc in each st across, turn (40dc).
R18: Ch 1, sc in first st, ch 1, skip next st, sc in next 38 st, turn (39sc, 1ch).
R19: Ch 3, dc in first 9 st, inv dec, dc in next 18 st, inv dec, dc in next 9 st, turn (38dc).
R20: Ch 3, dc in first 9 st, inv dec, dc in next 16 st, inv dec, dc in next 9 st, turn (36dc).
R21: Ch 3, [dc in first 8 st, inv dec] three times, dc in next 3 st, turn (33dc).
R22: Ch 3, dc in first 6 st, [YO x4, insert hook into next st, pull up loop, YO and pull through 2 loops x6]*, ch 6, skip next 3 st, repeat *, dc in next 11 st, repeat *, ch 6, skip next 3 st, repeat *, dc in next 6 st, turn (23dc, 4 extended stitches, 12ch).
R23: Ch 2, hdc in first 7 st, sc in ch sp 6 times, hdc in next 13 st, sc in ch sp 6 times, hdc in next 7 st, turn (27hdc, 12sc).
R24: Ch 2, hdc in first 7 st, inv dec in back loops 3 times, hdc in next 13 st, inv dec in back loops only 3 times, hdc in next 7 st, turn (33hdc).
R25: Ch 1, sc in first st, hdc in next st, dc in next st, tc in next st, dtc in next st, [YO x4, insert hook into next st, pull up loop, YO and pull through 2 loops x6]*, ch 4, inv dec in hdc 10 times, hdc in next st, ch 4, repeat *, dtc in next st, tc in next st, dc in next st, hdc in next st, sc in next st, turn (13hdc, 2sc, 2dc, 2tc, 2dtc, 2 extended stitches).
R26: Sl st in first sc, sc in next 5 st, sc around chain and into edge of extended stitch 4 times, sc in next 11 st, sc around chain and into edge of extended stitch 4 times, sc in next five st, sl st. Fasten off.
Sleeves: Join yarn to st in armhole. For row 1, ch 1, sc in first st (mark starting st), sc in next 19 st around, join (20sc). For rows 2-10, ch 3, dc in each st around, join (20dc).
Add buttons to sc rows of front opposite ch sp if desired. (I do so desire, I just haven’t done it yet.
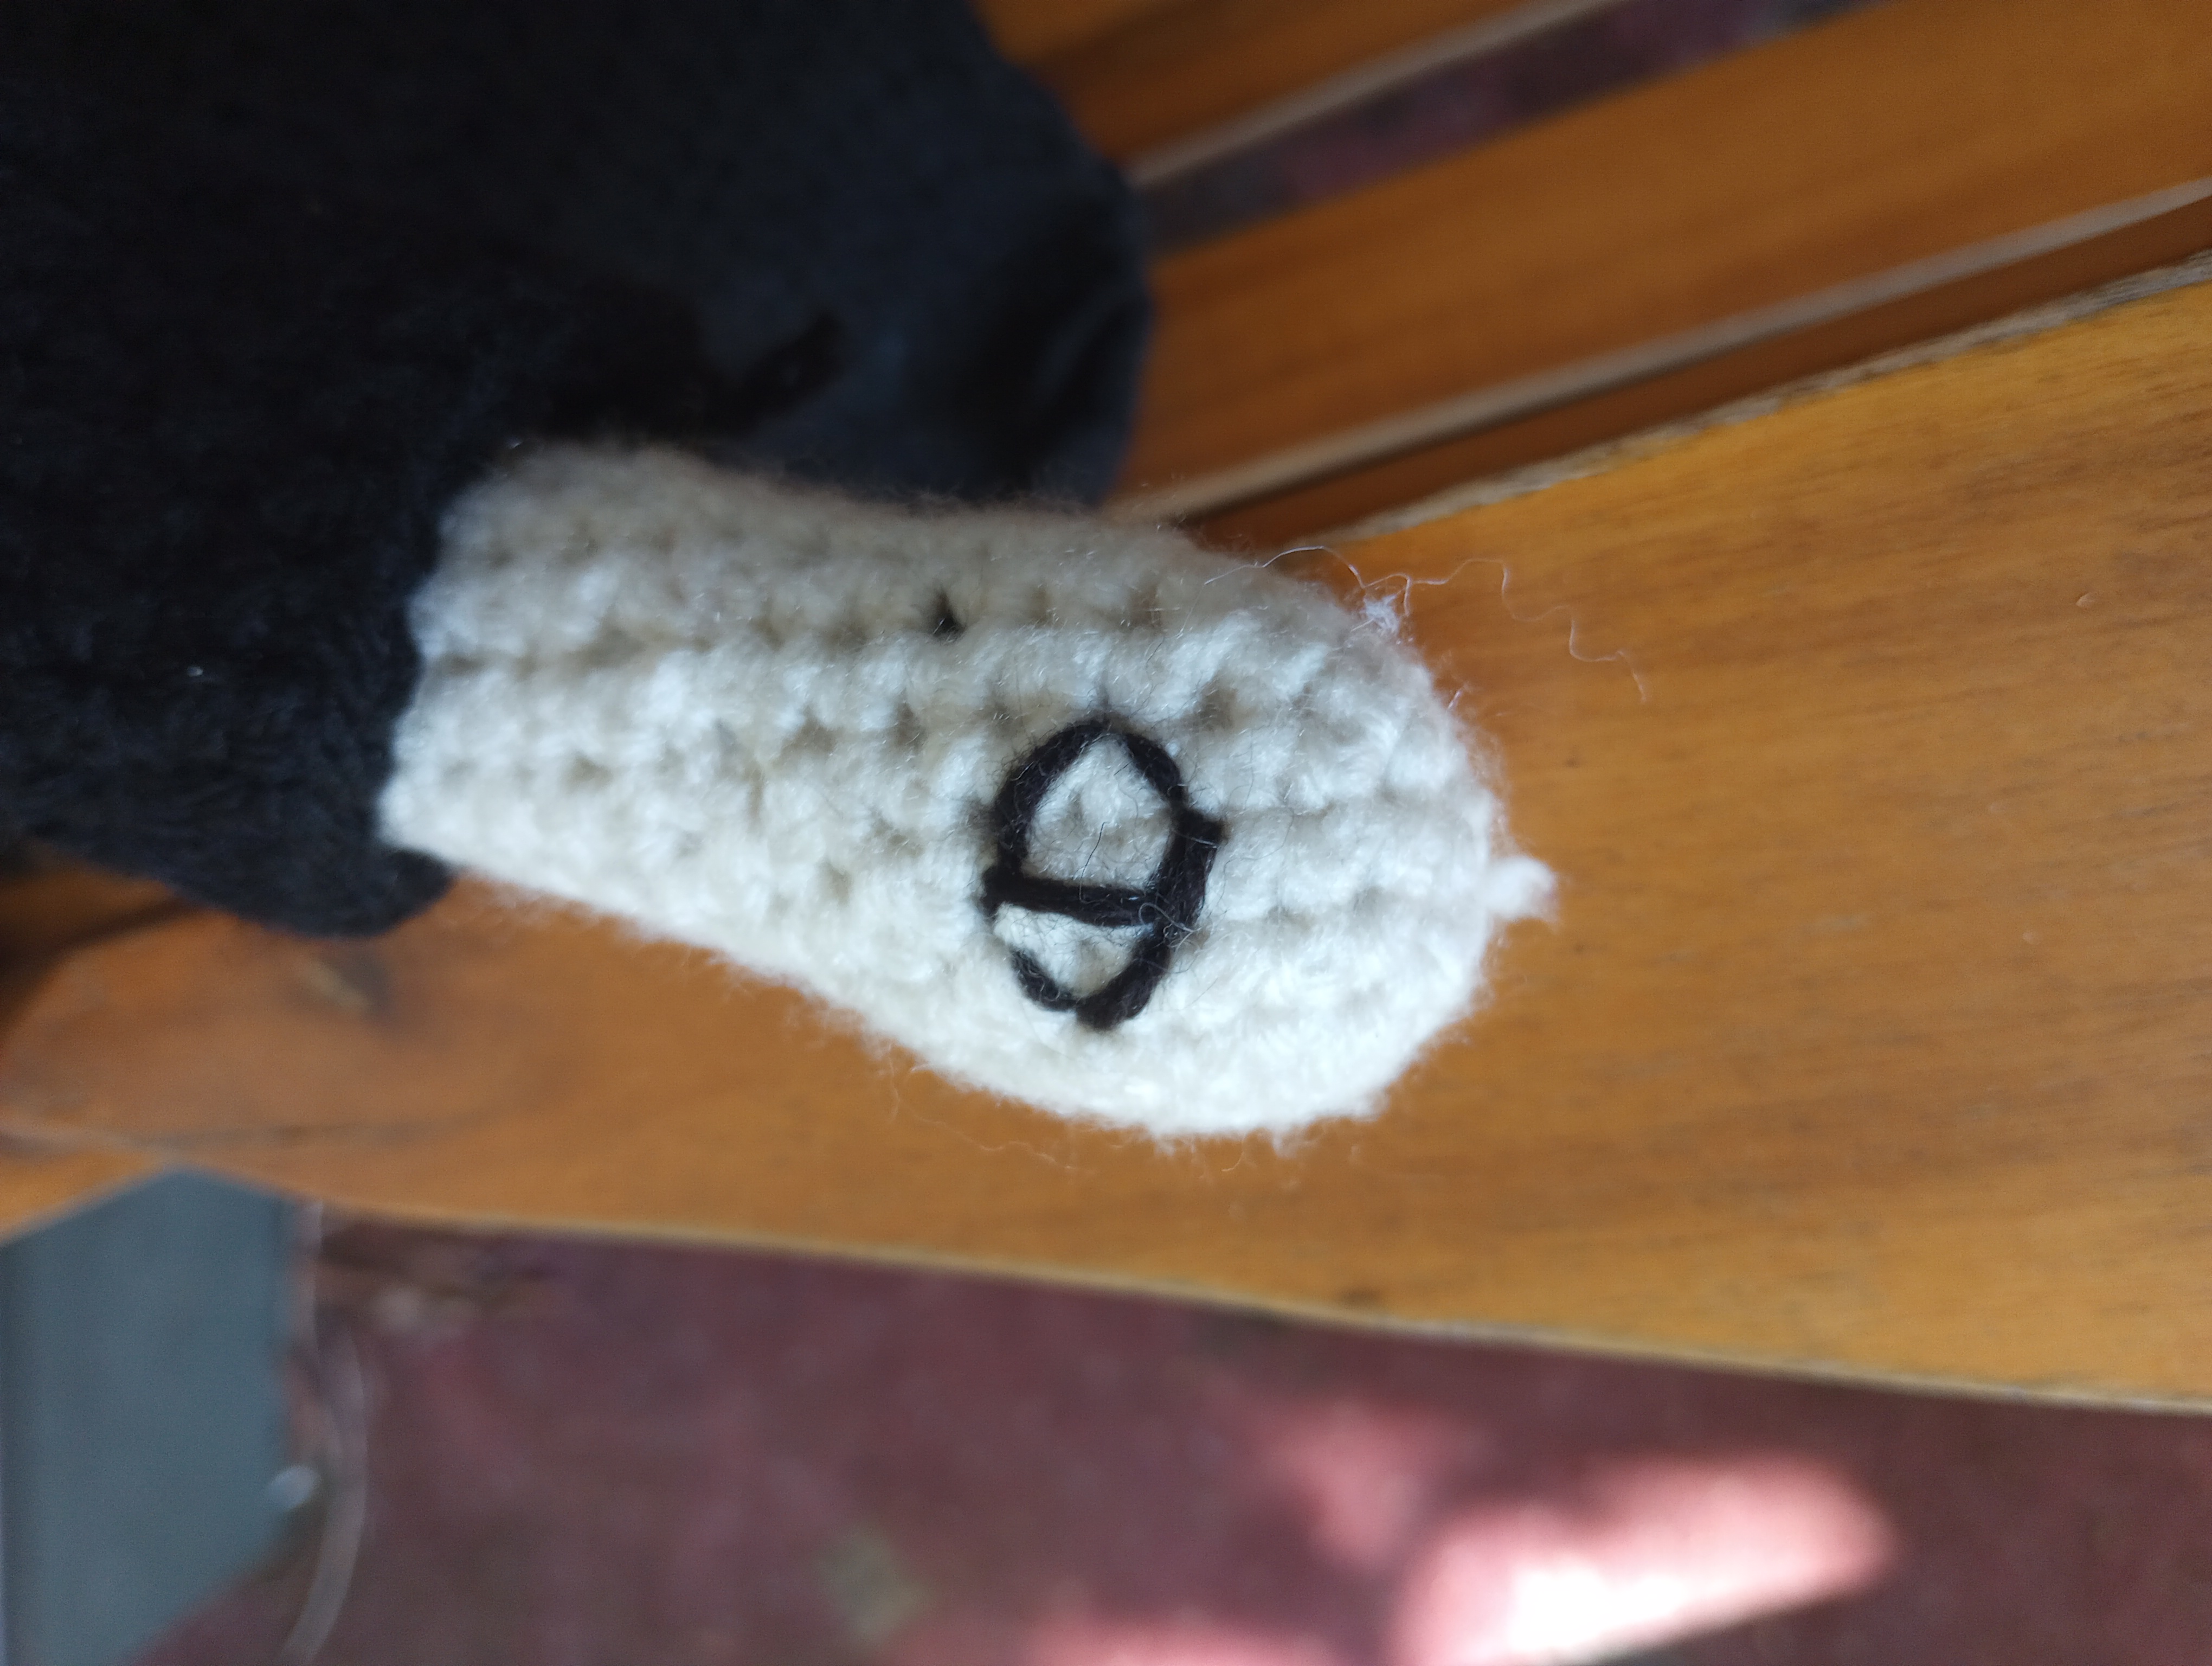
Tattoos: Gerry’s tattoos are embroidered on in backstitch. I only did three (one on each hand and one on the back of his neck), because I was doing it in yarn and it was way too thick for anything tinier, but what the hey, he doesn’t technically have “joints”. (The ones on his knees don’t show because the holes are sagging below the joints. That’s my story and I’m sticking to it!)