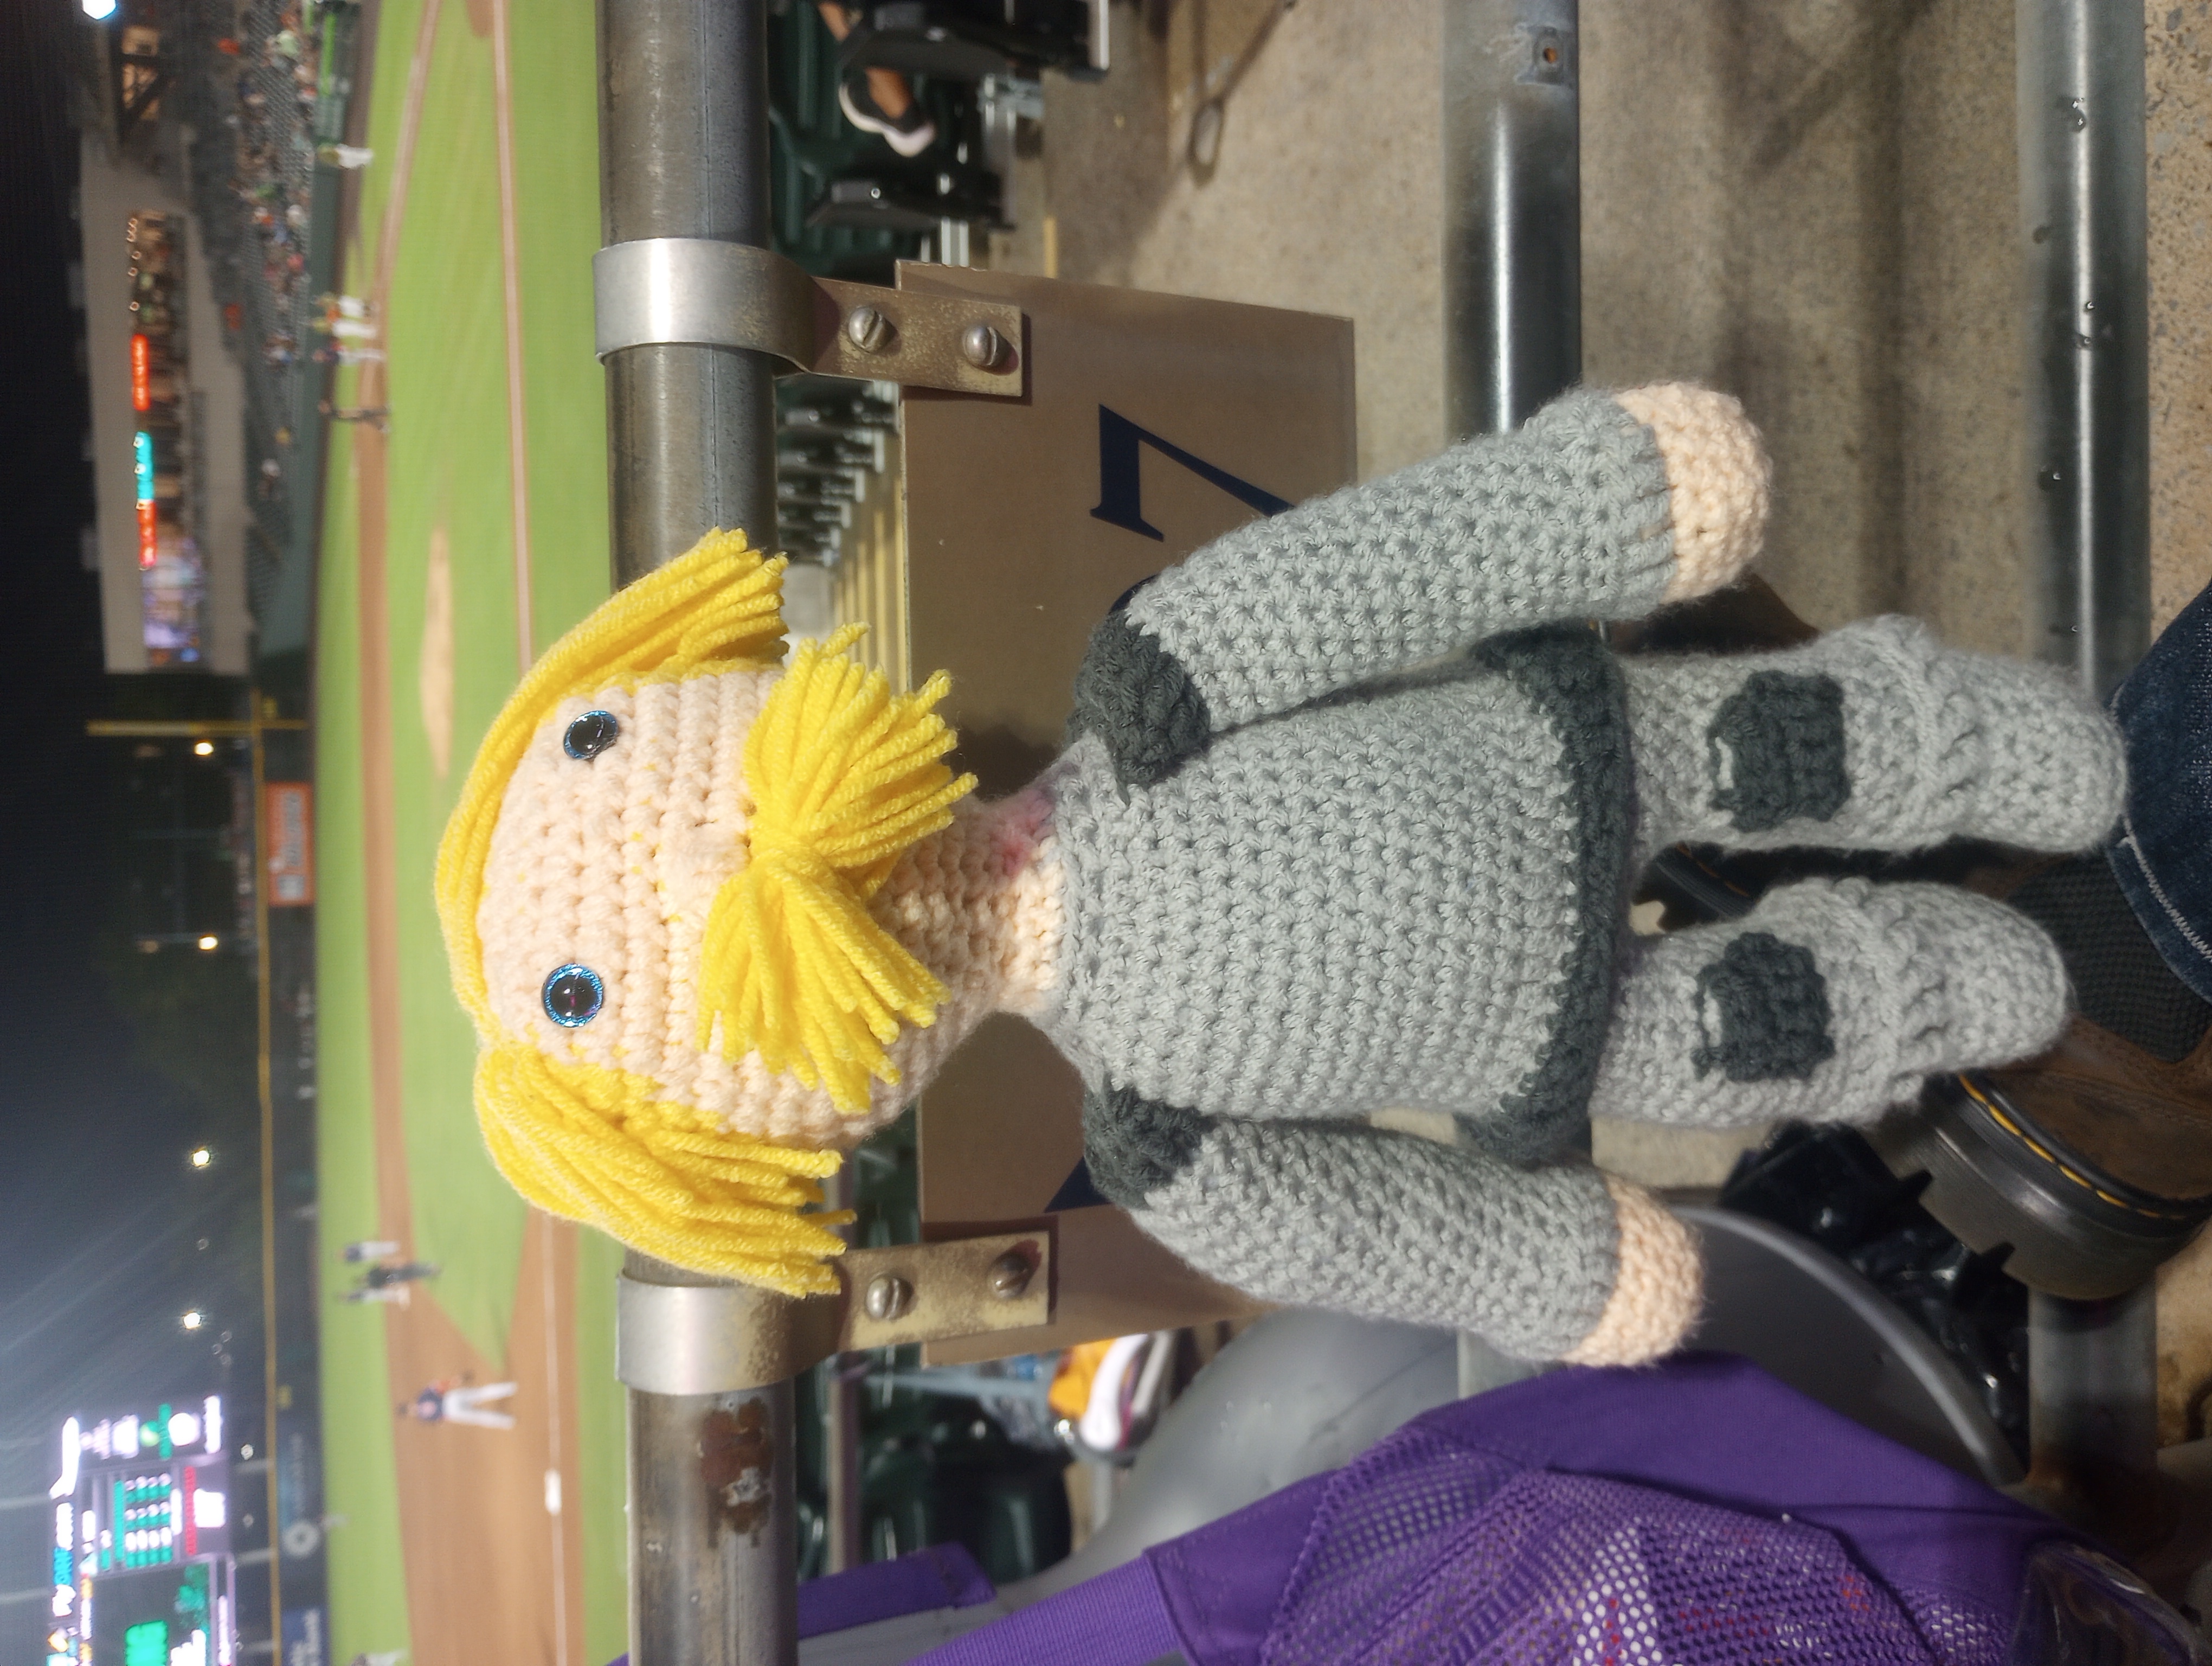
Character Name: Torbrennan Crag
Fandom: Realms of Peril and Glory: Vael [Podcast]
Played By: Pip Gladwin
Yarn Used:
Armor: Loops & Threads Soft Classic - Light Grey
Accents: CraftSmart Value - Charcoal
Skin: Loops & Threads Soft Classic - Peach
Hair: Loops & Threads Soft Classic - Butter
Basic pattern here.
The second I heard Pip open his mouth the first time I listened to this podcast, I knew I was going to adore Torbrennan with my entire, and I was so very, very right. Brave, kind, big-hearted, that special blend of optimistic and naive, and just the teensiest bit stupid at times, Torbrennan is pretty much exactly how I would play a Paladin if I ever played one and I kind of want to be friends with him. He’s been through so much and he truly deserves the world.
He differs from the base pattern as follows:
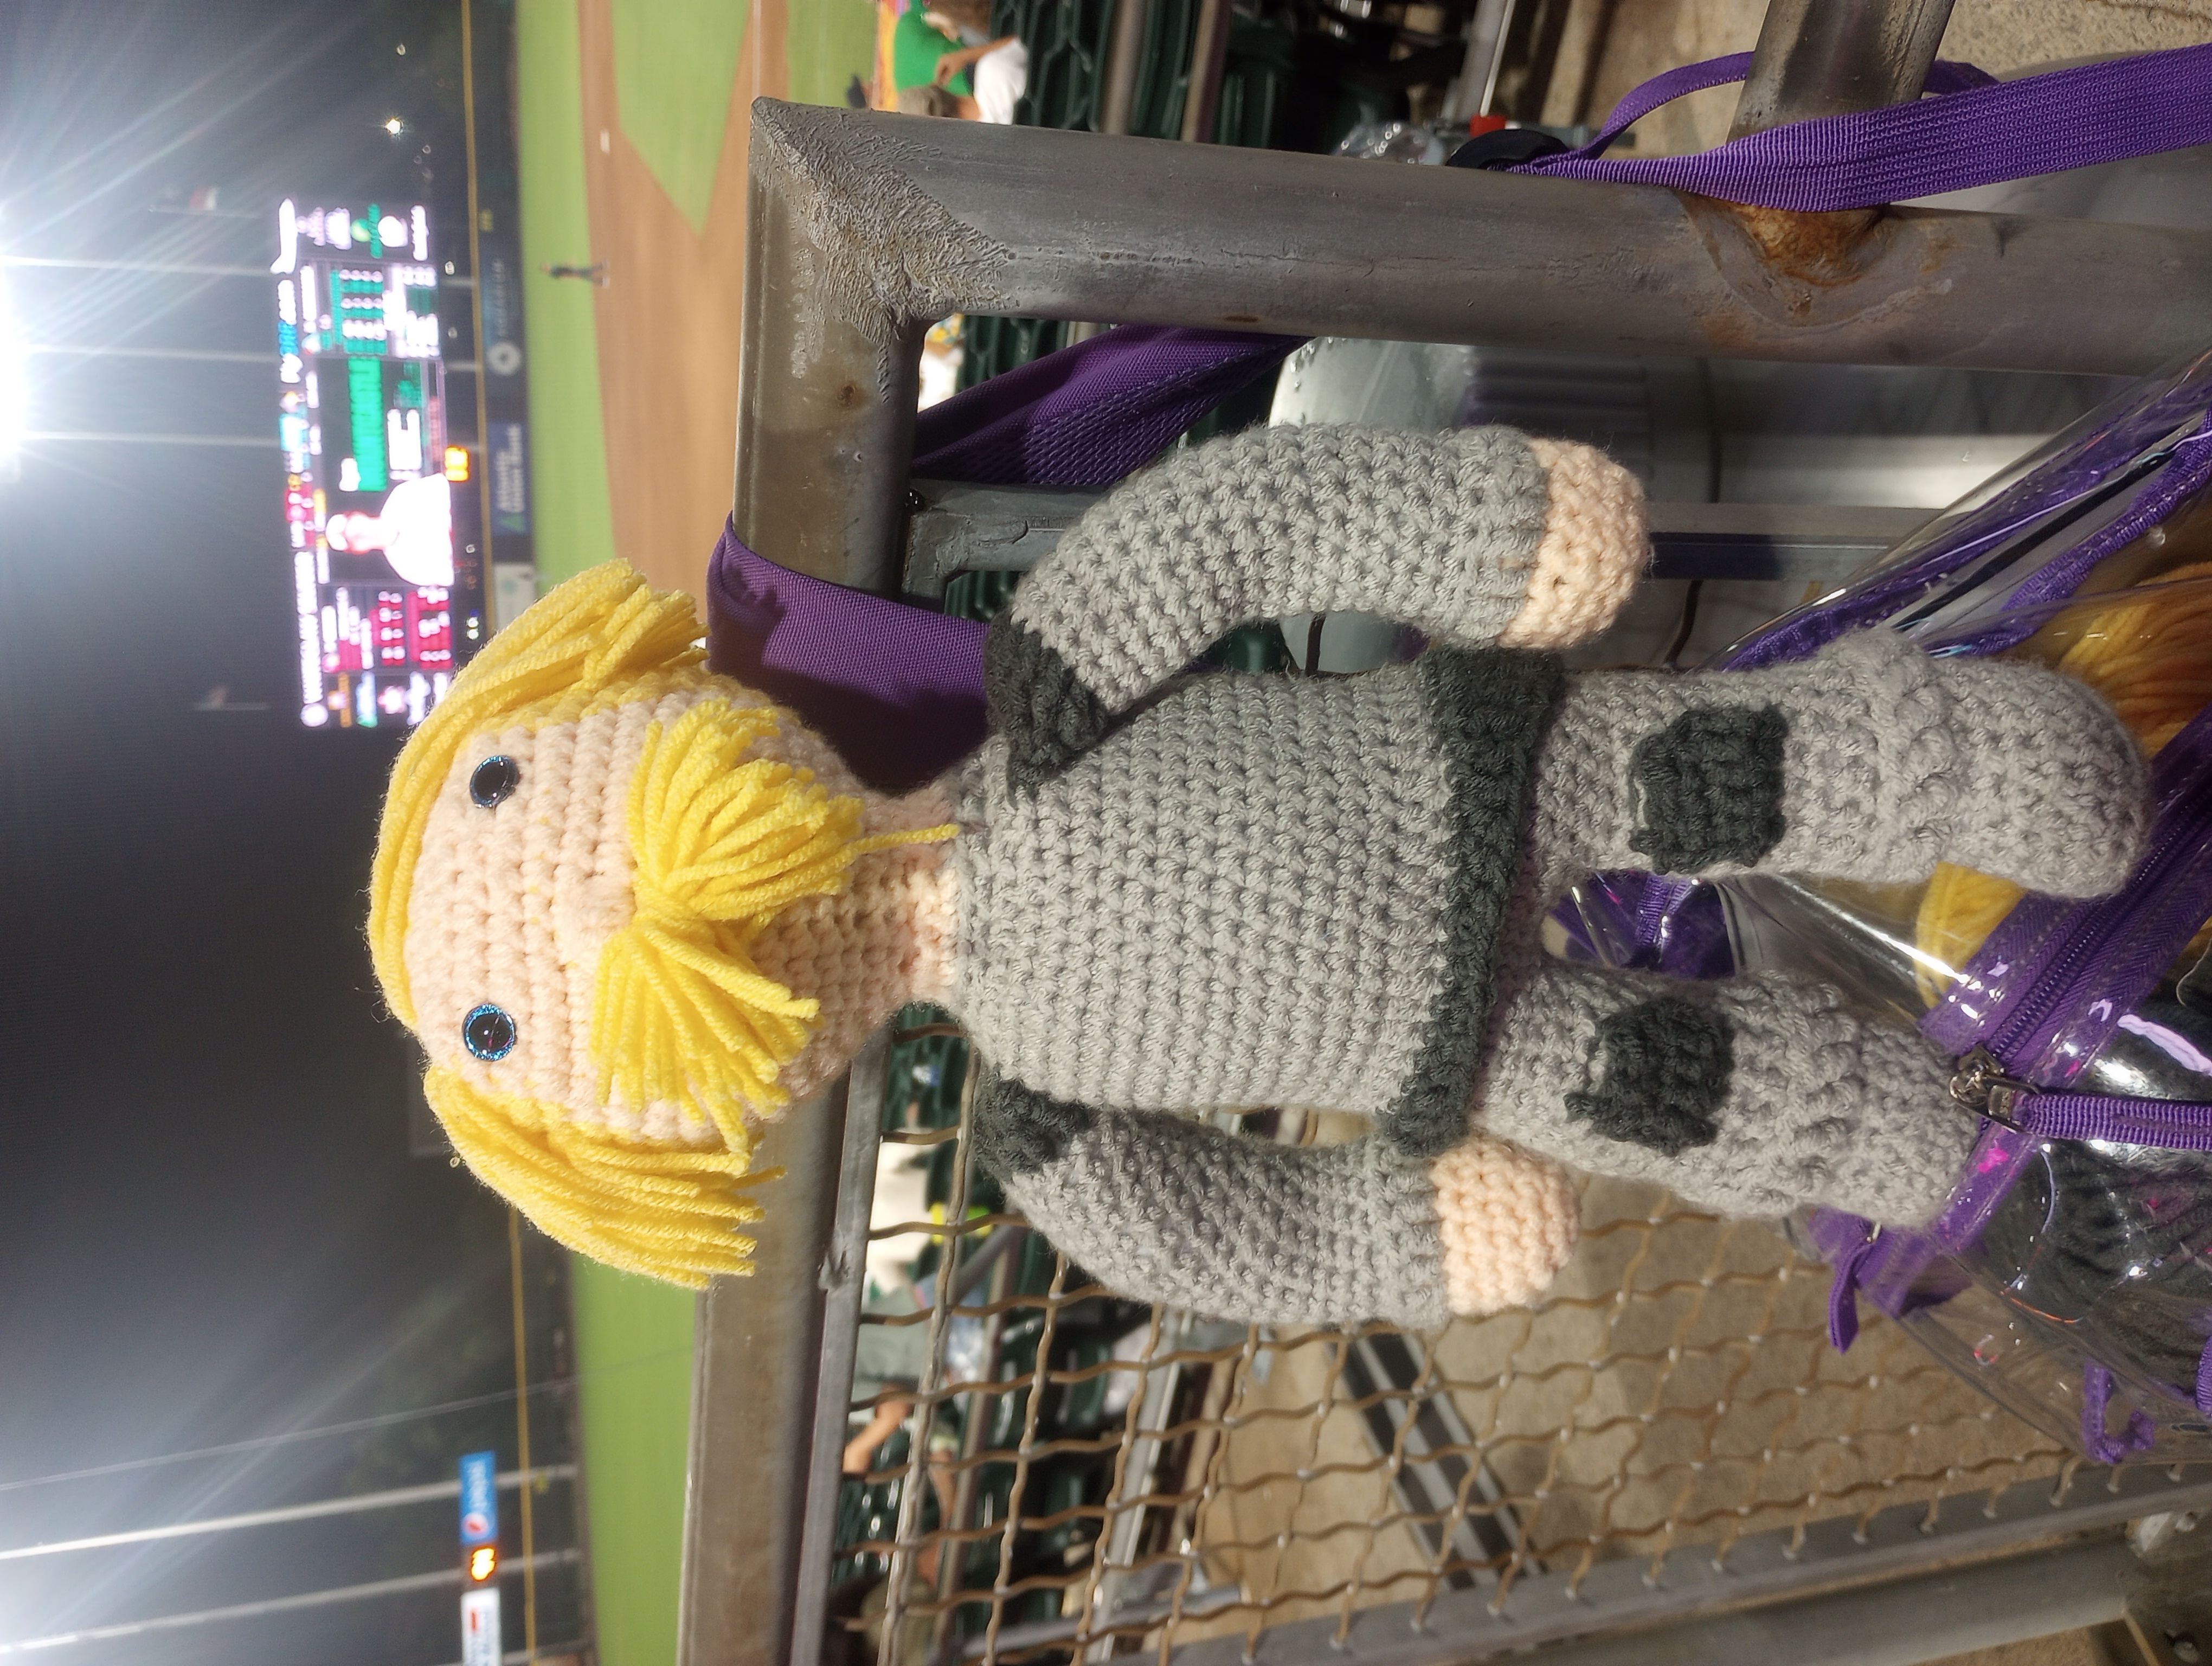
Legs: I tried to make the boots pointy by shuffling around the decrease pattern and putting a single crochet between the decreases at the toe, but I’m not sure it really worked all that well. Still, they came out well enough. For the tops of the boots, I did a round of fpdc at the top, then worked the legs off the inner ring. Torbrennan is a Dwarf, so I made his legs the same thickness as usual but stopped at R20 (I think it was R20). At the very end, for the kneepads (that’s what they look like in the official art, anyway), I joined on the accent color on a row that looked good and:
R1: Ch 1, sc in 3 sts across, turn (3 sc).
R2: Ch 1, 2sc in first st, sc in next st, 2sc in next st, turn (5 sc).
R3: Ch 1, sc in each st across, turn (5 sc).
R4: Ch 1, dec, sc in next st, dec, turn (3 sc).
R5: Sl st into sts of leg. Fasten off.
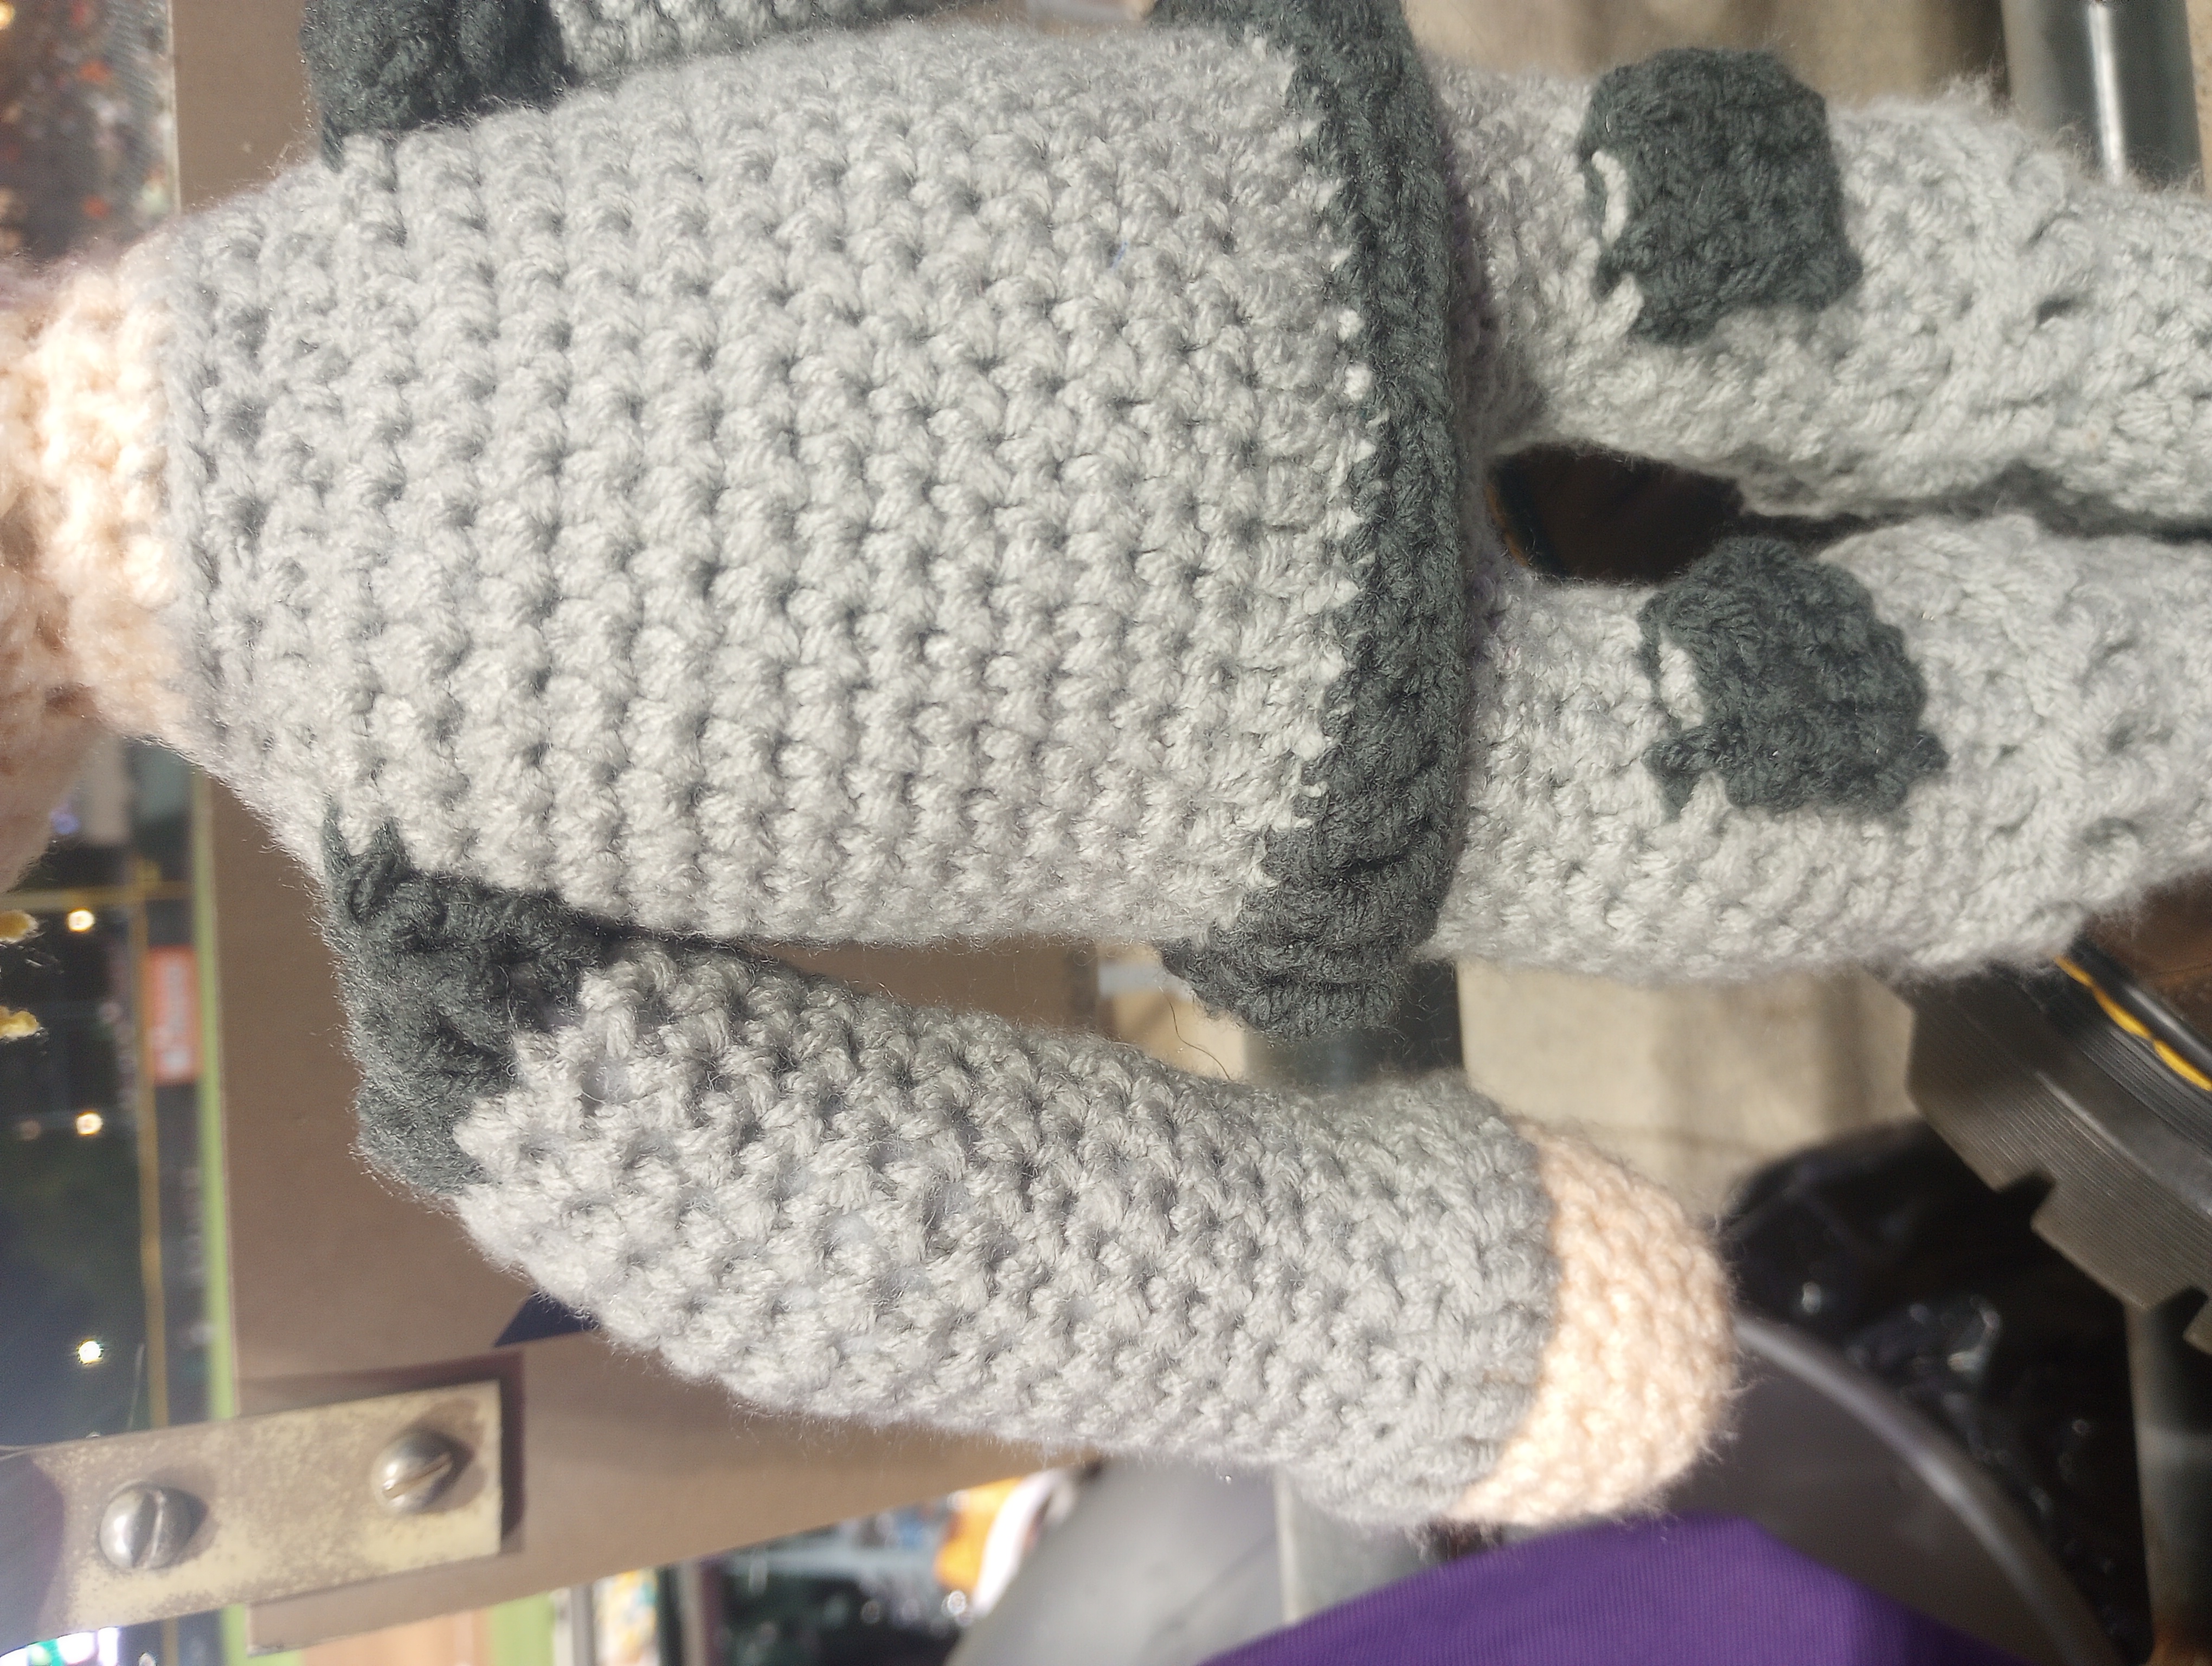
Breastplate: In the official artwork, Torbrennan is…square. I decided the best way to convey this was to get to the waistline and then, rather than decrease on either side from 38 to 36, increase on either side to 40. To mark the bottom of his breastplate, which is where I did the increase, I did a round of hdc in front loops only, then a round in the back loops of those loops to make sure the stuffing wouldn’t fall out, then did my round with the increase. I pretty much took it straight up until the shoulders and then decreased. I did manage to get his neck down to 18sc, so there was that. To make the bottom of the armor, I joined the accent color to the ridge created by the hdc at the center back and then:
R1: Ch 1, sc in each st around, sl st in first sc (38 sc).
R2: Ch 1, sc in first st, [sl st in next st, sc in next 2 sts, hdc in next 2 sts, dc in next 2 sts, trc in next 2 sts, dtrc in next 2 sts, trc in next 2 sts, dc in next 2 sts, hdc in next 2 sts, sc in next st] 2 times, sl st in first sc (8 sc, 8 hdc, 8 dc, 8 trc, 4 dtrc).
Head: I did not decrease his neck to 12 like I normally do. Torbrennan has a short, thick neck (again…Dwarf) and I wanted to reflect that. I did one fewer round of straight sc on either side of the nose to make his head a little more blocklike, and I think it worked; I did the cluster stitch for the nose instead of the puff stitch for the same reason.
Arms: Again, square and blocky boi. I actually started his hands at 6 stitches instead of 5, increasing out to 18. After R7, I joined on the armor color and did a round of fpdc to make the cuffs of the glaives. When I did the round of sc behind the fpdc, I decreased down to 15, then did the next round through both rows to make it clear these weren’t rolled cuffs. I went up to R25, then added the accent color, did another round of fpdc, and did a round of sc on top of the accent only to try and make the pauldrons. I like how it came across!
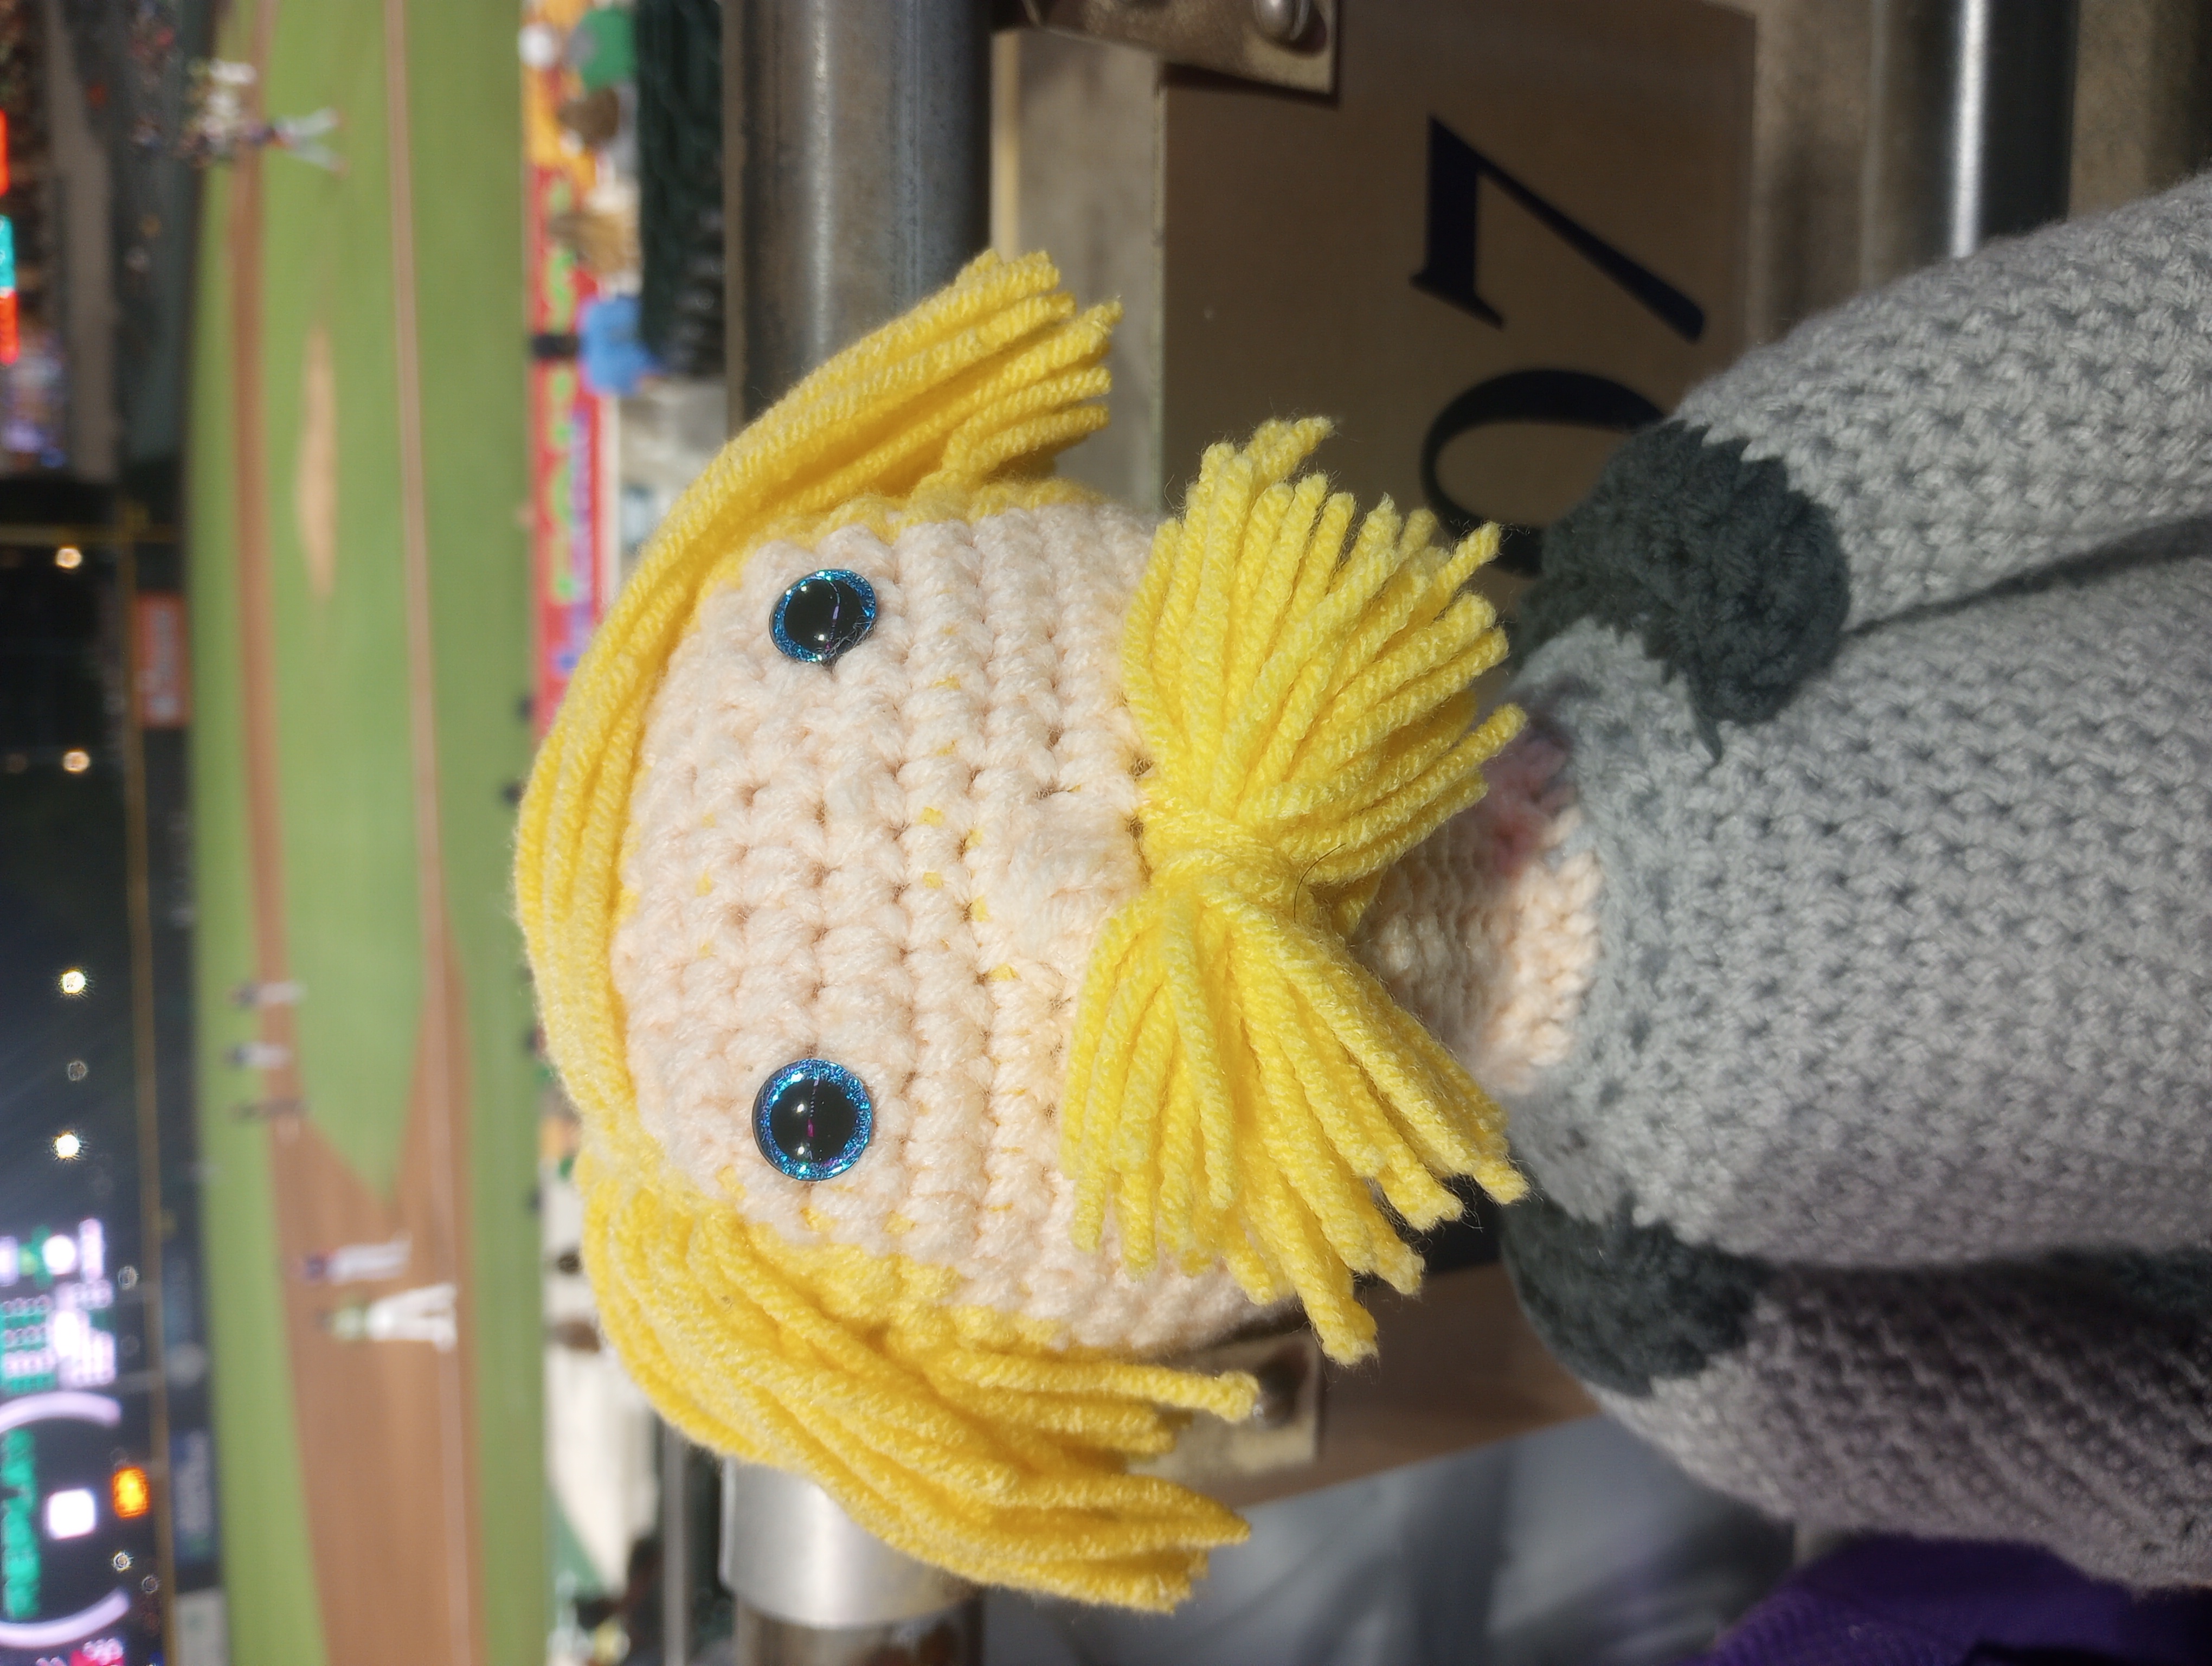
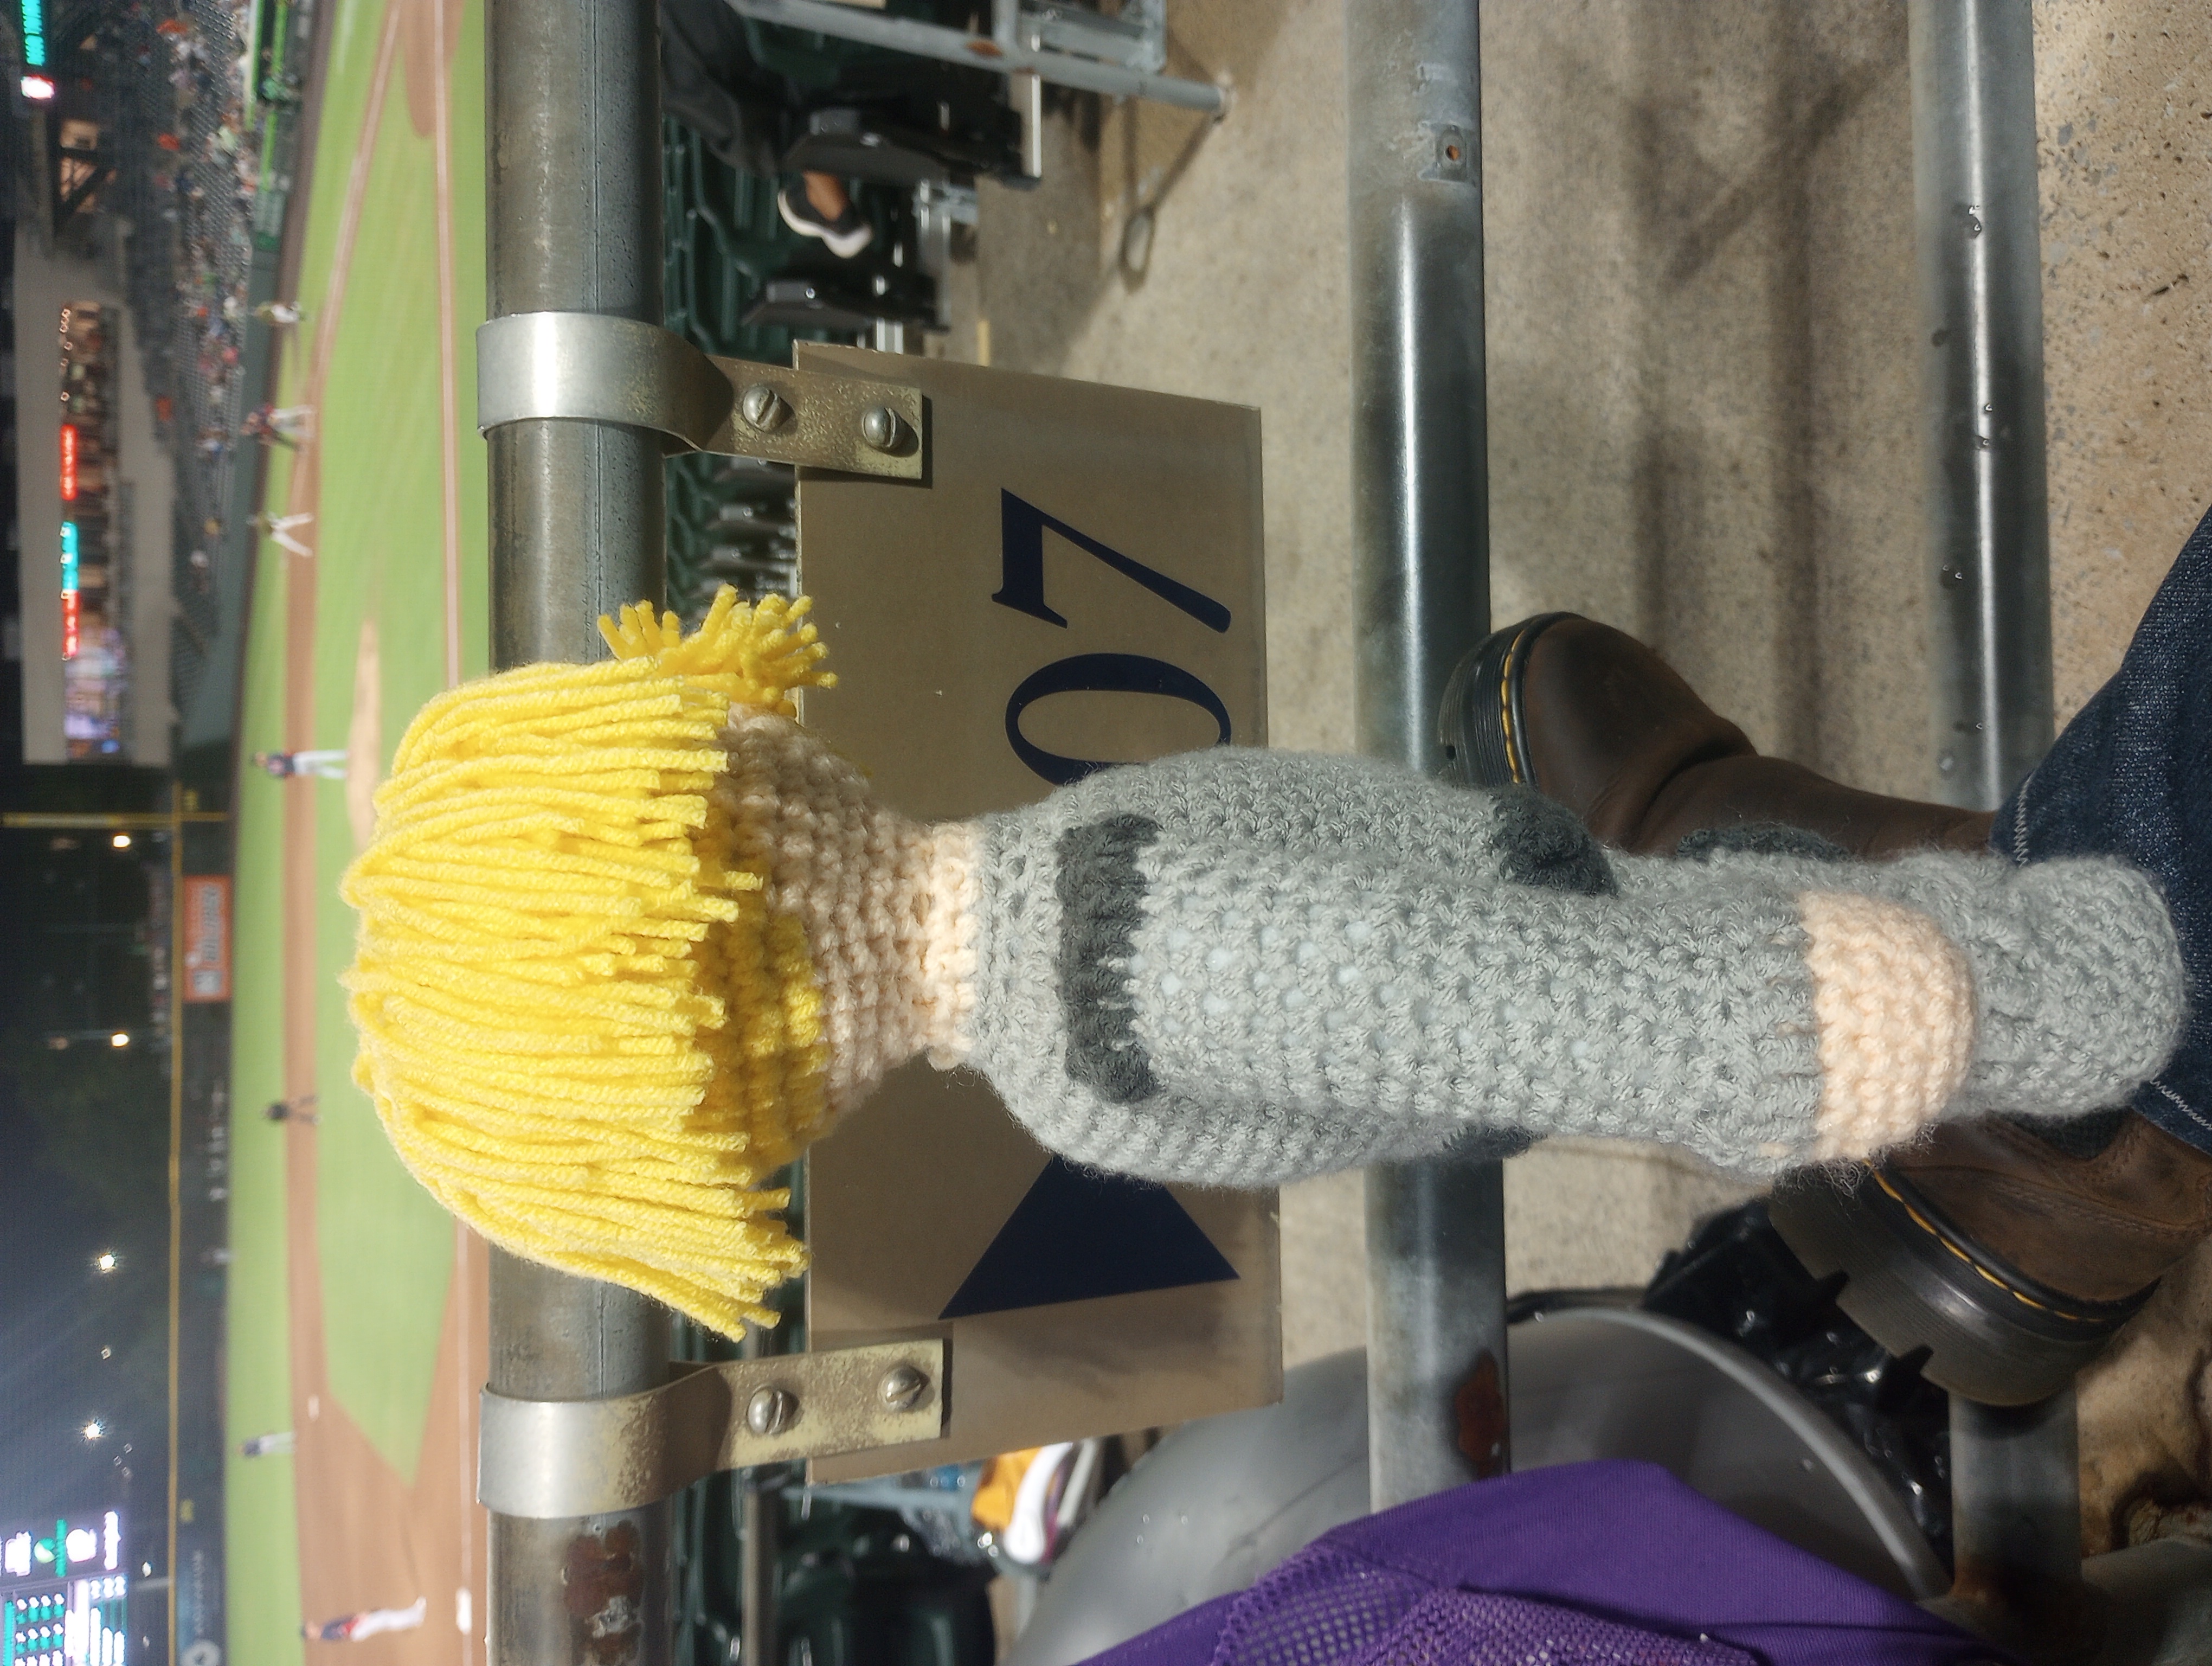
Hair: Look at that mustache. I am so proud of that mustache. I’d pulled a loop of the hair color through the stitches just below the nose early on to mark the spot and give me an anchor. When I got to this point, I wrapped the yarn around my phone widthwise a few times, slid the loops off, tied them together in the middle, then slid the whole bundle through the loop I’d previously made and secured it in place. Once I was sure nothing would pull loose, I cut all the loops to make it bushy. I can’t make the hair on the top of his head swoosh the way it does in the official art, but I like the way it came out anyway.